Introduction
Until 2017, I had been an employee of Intelligent Computer Solutions, Inc. (ICS) for a full decade; in three different locations.
Most of the time I answered technical support questions on the phone or by email; conversing with many different forensic investigators who were either independent, police
officers, employees of major legal or financial companies, someone working for the FBI, NSA, DOD, NCIS, CID, AFOSI or any similar government agencies across the world (from the UK to
Germany to Israel and the UAE over to India and all the way to Japan). But I might also be discussing how IT support department staff could make duplicate copies of
their workstations, etc. Most of the time I was helping people use ICS devices to either wipe/overwrite or copy/capture digital data on/from different storage media.
Since I was already involved in discovering everything I could about how operating systems and data were stored on HDDs and doing some Data Recovery on my own, and had
also been tutoring a civilian employee at a Sheriff's Department how to use various software tools for doing forensic data captures, this was a great fit for me.
However, apart from my tech support role, since a number of my past jobs had been as an electronics tech, I was also assigned to repair and even
build a number of the products that ICS manufactured. Due to all of the above, a former owner gifted me with an Im
If any of this page is of interest to you, please contact me (link below) with any questions you may have; or about PCs in general or anything else you might find on my website! NOTE: I am still adding details to this webpage!!!
Pictures of My Im Solo-4 G3 Device and Technical Specifications
The following pics (click of any of them for full size!) show my Im Solo-4 G3 unit’s top, bottom (S/N not shown), sides and Motherboard connections at the rear:
 TOP |  BOTTOM | ||
 LEFT Side |  RIGHT Side | ||
 FRONT |  REAR / Motherboard Connections |
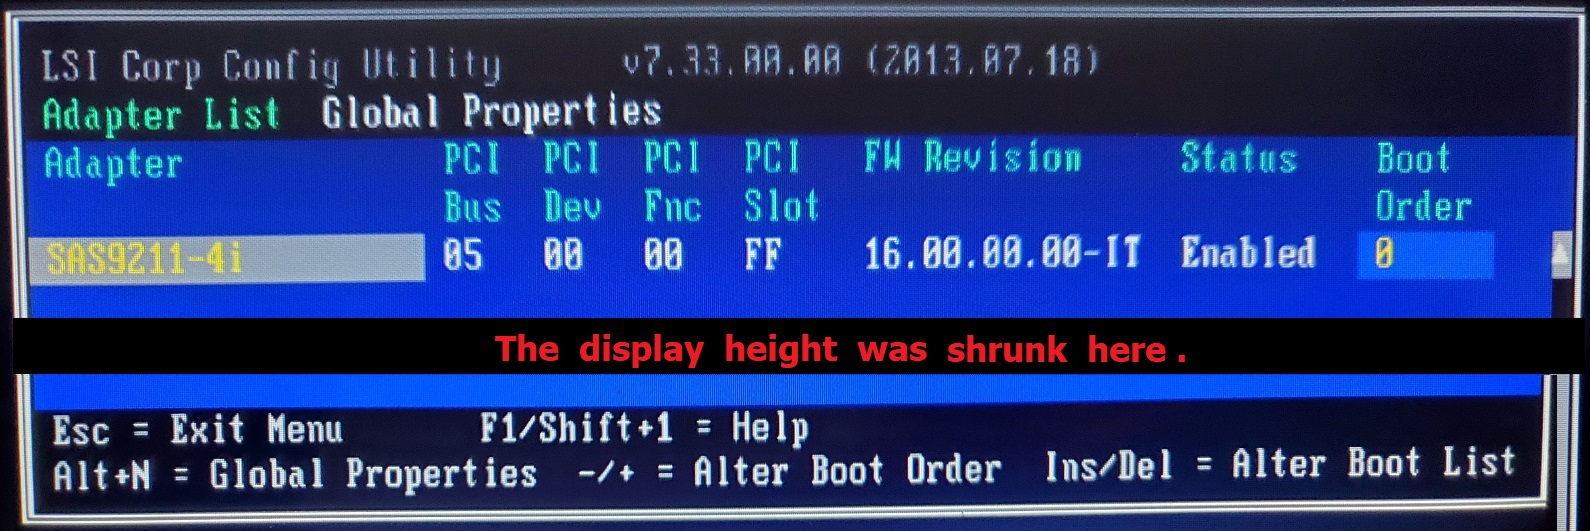
LSI Hardware BIOS
Every time the device is powered on, the first thing displayed on the screen is a notice for accessing the LSI Configuration Utility; an occasion which would be very rarely necessary. If you use a Keyboard to do so, you’ll find that the SAS Controller card installed is an SAS9211-4i (which supports the 4 SAS/SATA connectors installed in the device):

The Windows Embedded Standard (64-bit) OS
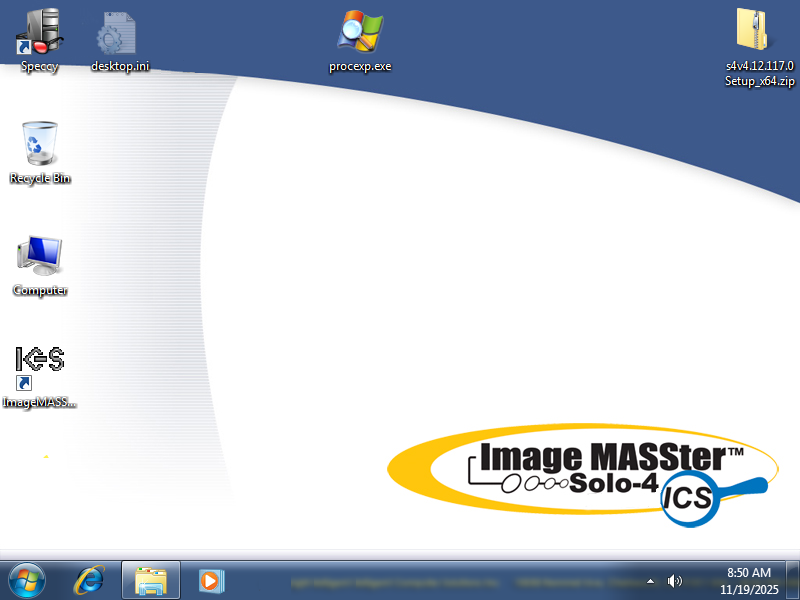
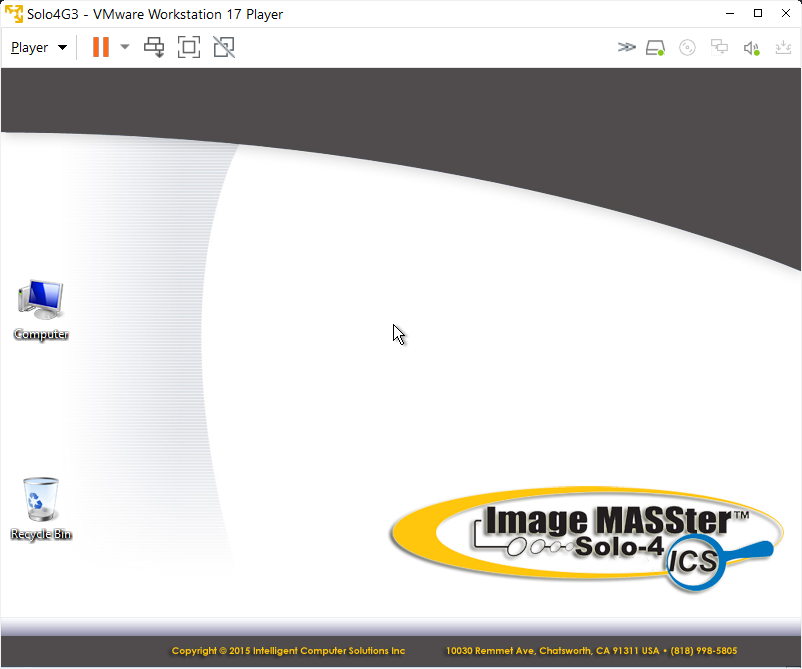
This was my Im Solo-4 G3 Desktop before I installed a new HDD and made the changes as noted much further below (click on any of these pics to enlarge them):
 |  | ||
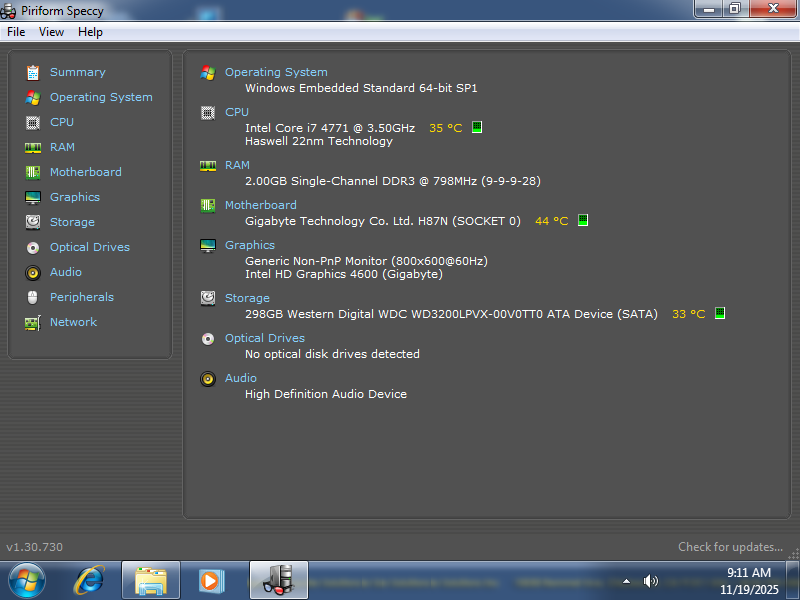 |  |
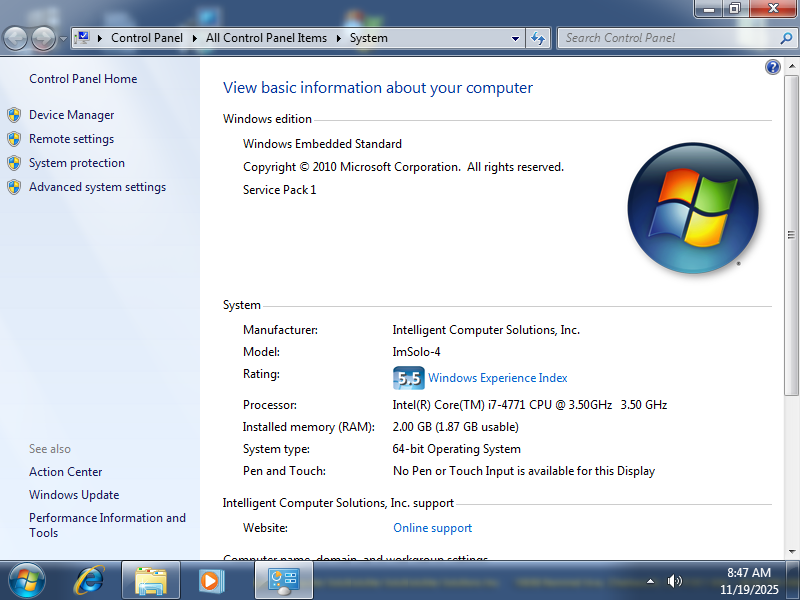
From the above, you can see that I had added some utility programs, such as “Speccy” and also Process Explorer to my unit. The basic Specs as seen in the Properties window are: 1) OS: Windows Embedded Standard (2010), Service Pack 1, 64-bit, 2) CPU: Intel® Core™ i7-4771 (3.50 GHz), with Speccy adding that this is a "Haswell 22nm Technology" chip, 3) RAM: 2.00 GB (1.87 GB usable); Speccy adding the Memory is type DDR3, and 4) Motherboard: Gigabyte H87N (WiFi is not included on this board); if you search for GA-H87N, you can find a User Manual for this board.
For other Specs, click on the pictures above.
Restoring the Original Windows Embedded OS
The following photo shows the RESTORE USB drive that came with my Im Solo-4 G3 unit (labeled as “Win 7” since Embedded Standard was based upon that OS and in fact includes all the Windows 7 background Themes and other items from that OS):
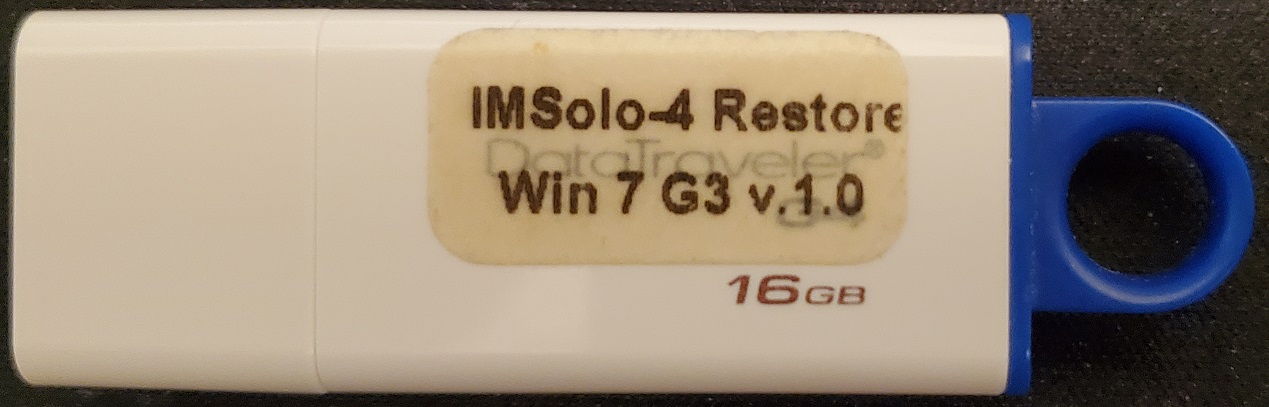
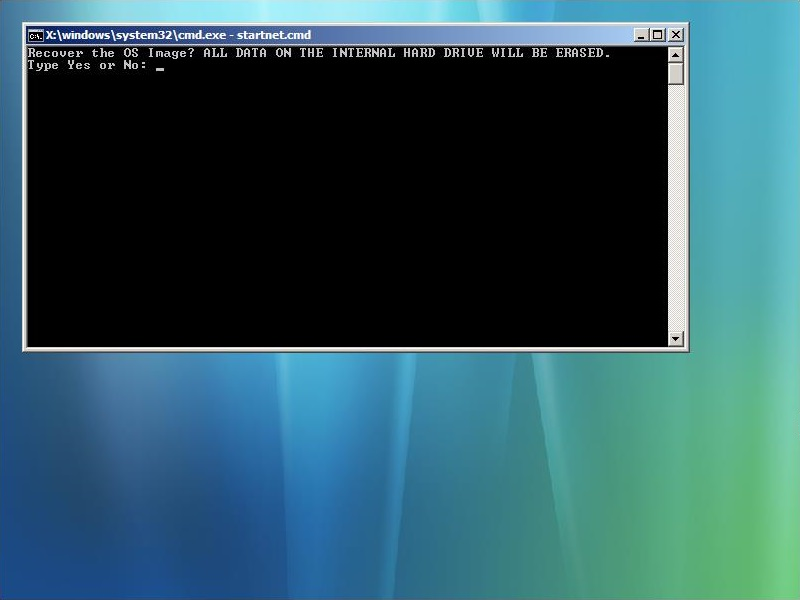
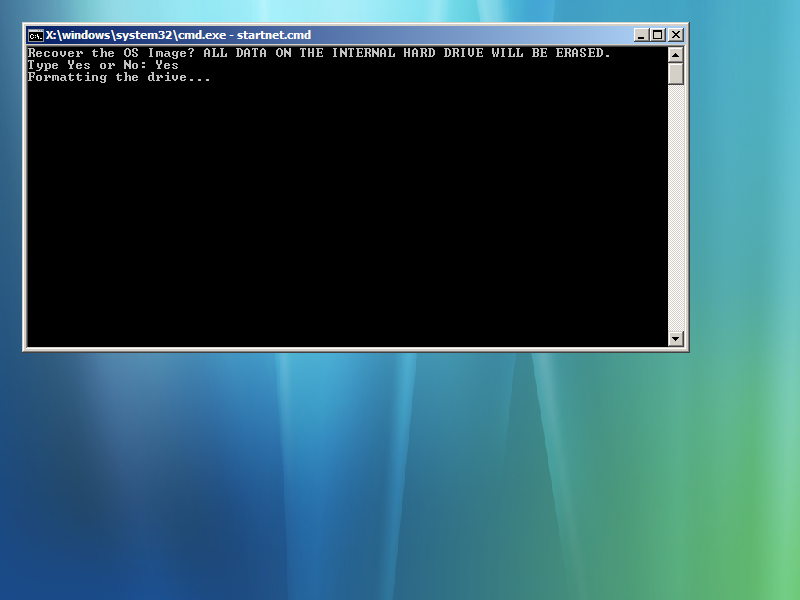
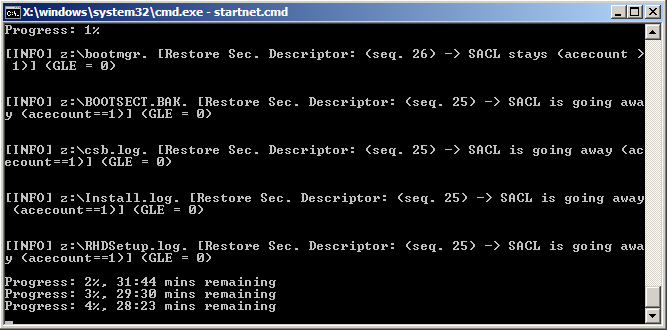
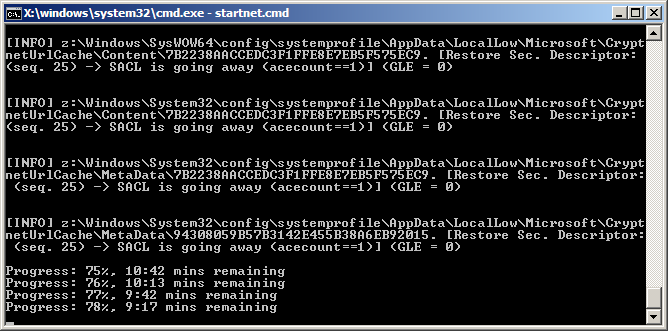
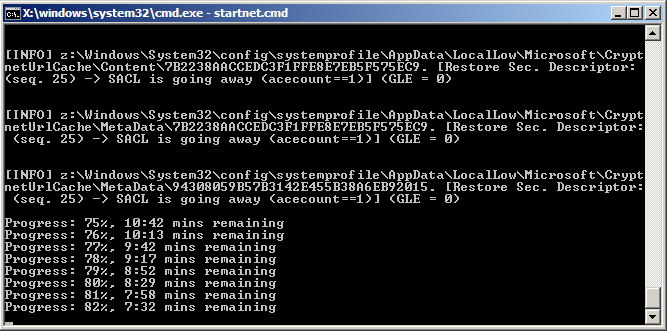
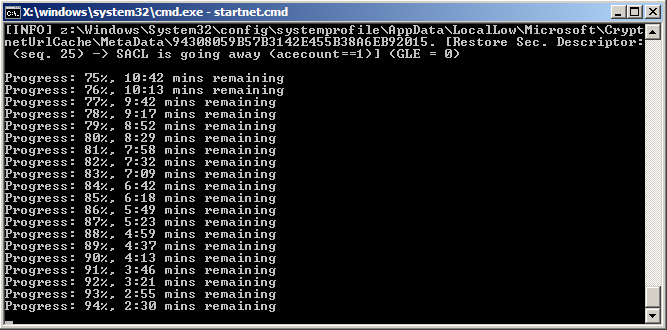
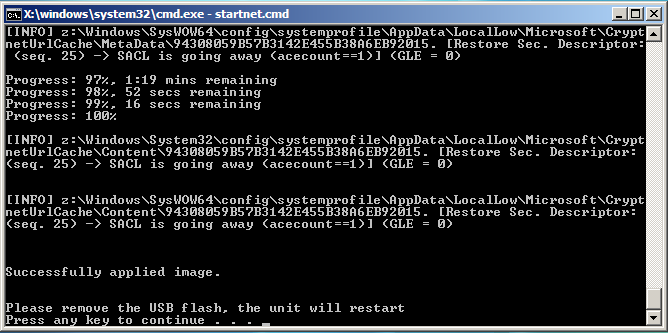
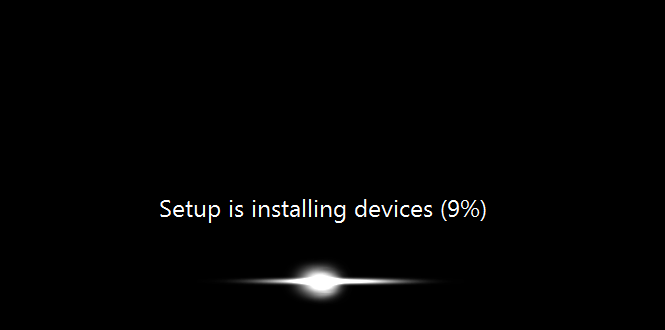
This is what you would need to use after replacing an original physically damaged HDD, upgrading the boot drive to an SSD or simply needing to overwrite the OS if its boot files have become corrupted. Except for needing to confirm that you actually want to overwrite all the contents of the connected disk drive, the process is automatic. NOTE: You must enter the full word “Yes” (which is case sensitive!):
 |  | ||
 |  | ||
 |  | ||
 |  |
NOTE: If you wish to run the IM Solo-4 Restore Win 7 G3 USB installation drive under the latest (FREE from Broadcom) version of VMware® (17.5.2 build-23775571) as a
Virtual PC under Windows 10 or 11, you’ll first need to convert its contents to a bootable .ISO file! I was able to do so by first copying all the files and folders from
the USB drive to a folder I named \Solo4G3_ISO_source (which I placed in my separate E: data drive), then obtain from a Microsoft®
ADK installation all the files in its Oscdimg folder (which I also placed in my E: drive) and lastly after opening a Command Prompt
window with Administrator privileges and navigating to inside that folder, I ran the following command:
oscdimg.exe -n -m -bE:\Solo4G3_ISO_source\BOOT\ETFSBOOT.COM E:\Solo4G3_ISO_source E:\Solo4G3.iso
Then I used that .ISO file as the source
for creating a new Virtual PC installation:
Once the OS is running as a Virtual PC it will be somewhat similar to having a Windows 7 install, but many of the Win 7 features will be absent and without any means to add them!
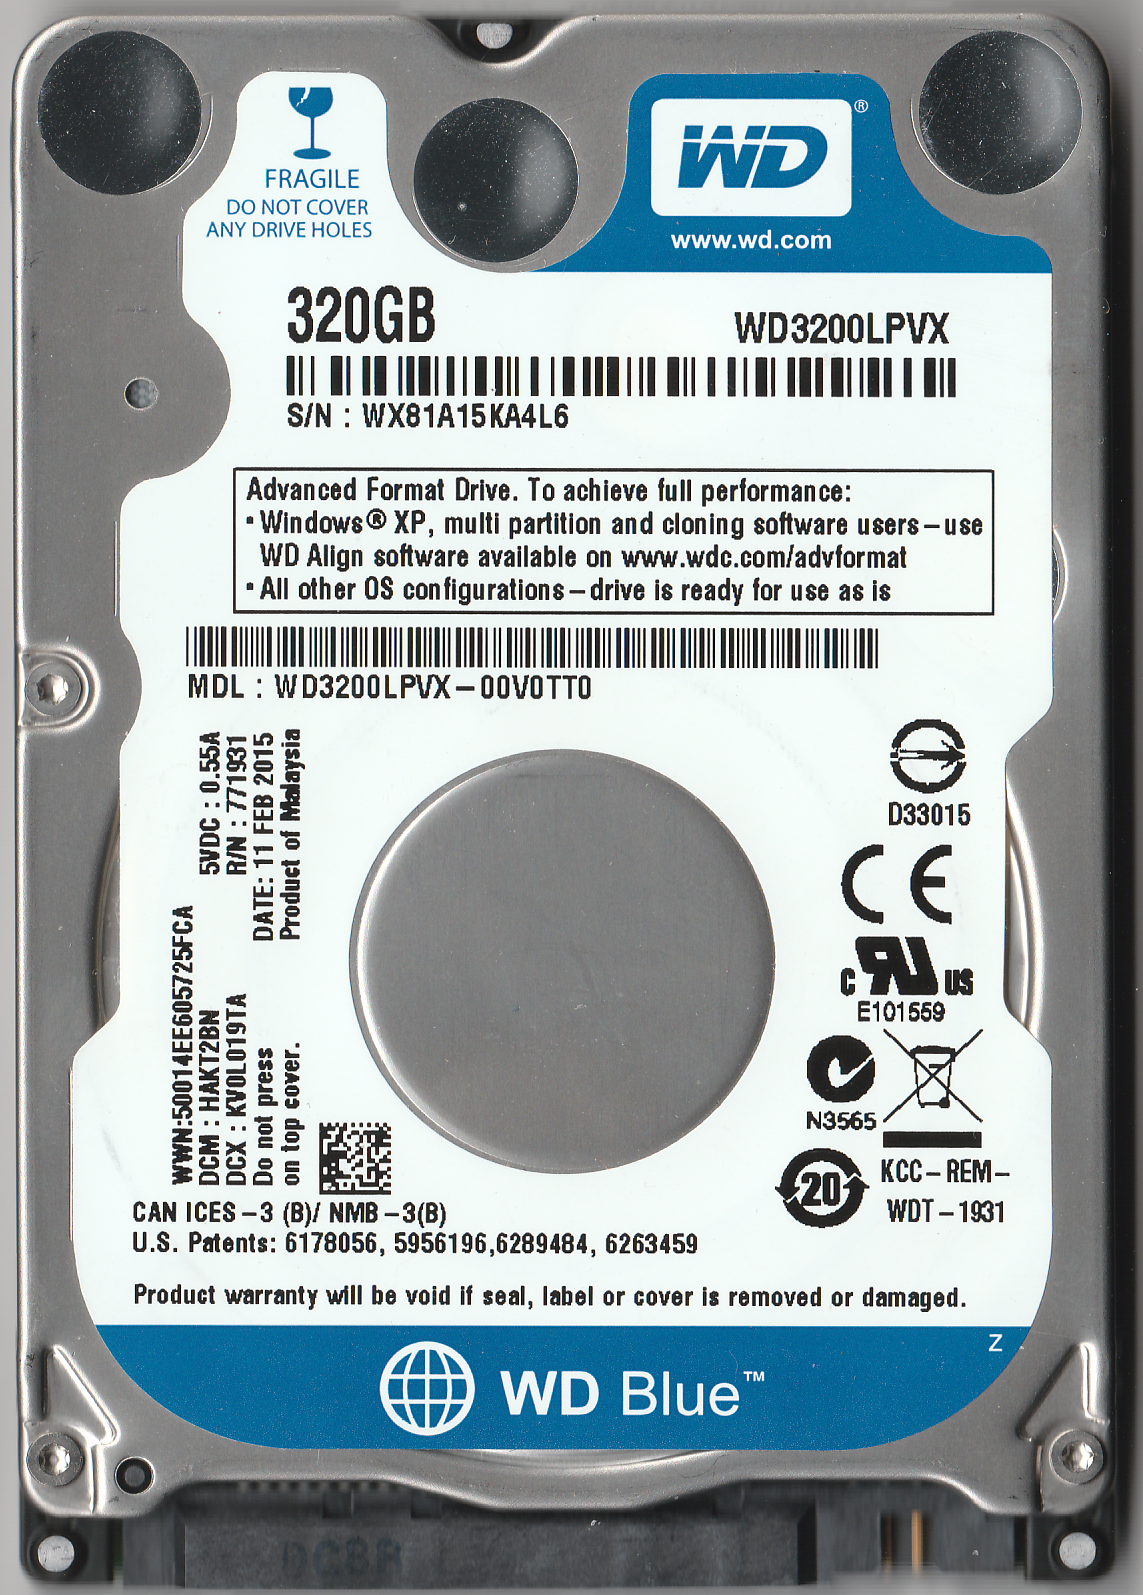
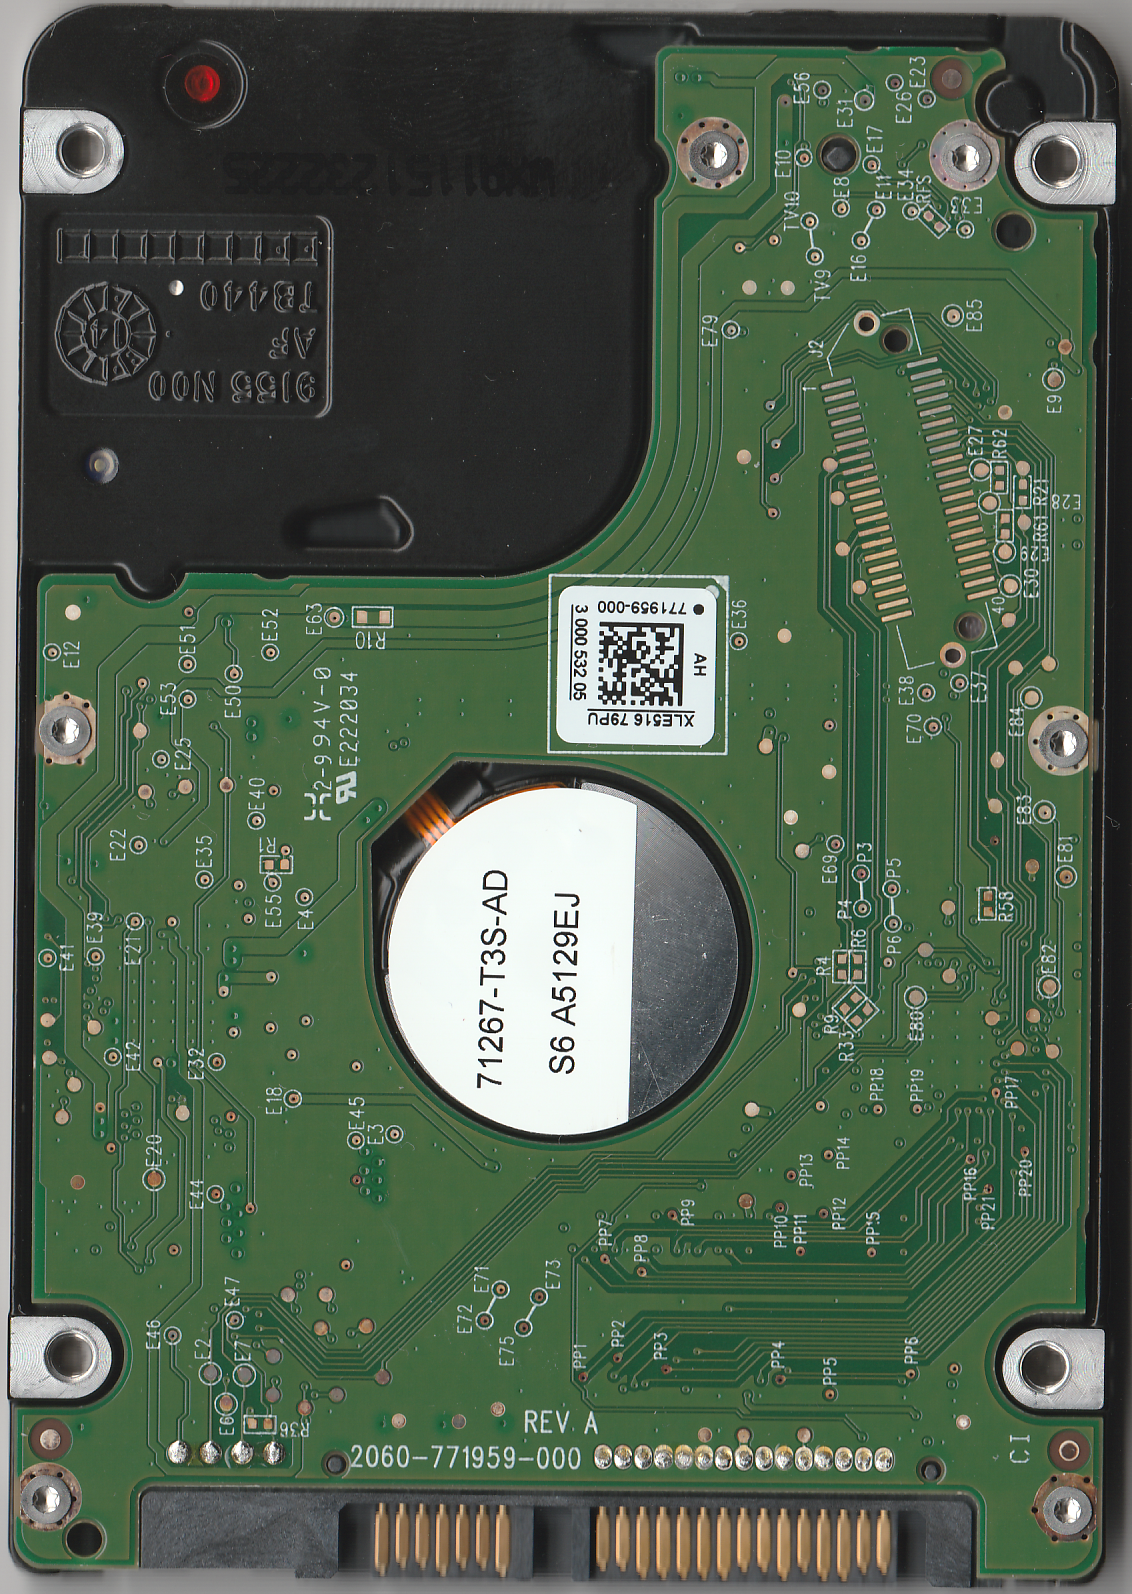
Drive Bay & Replacing the HDD
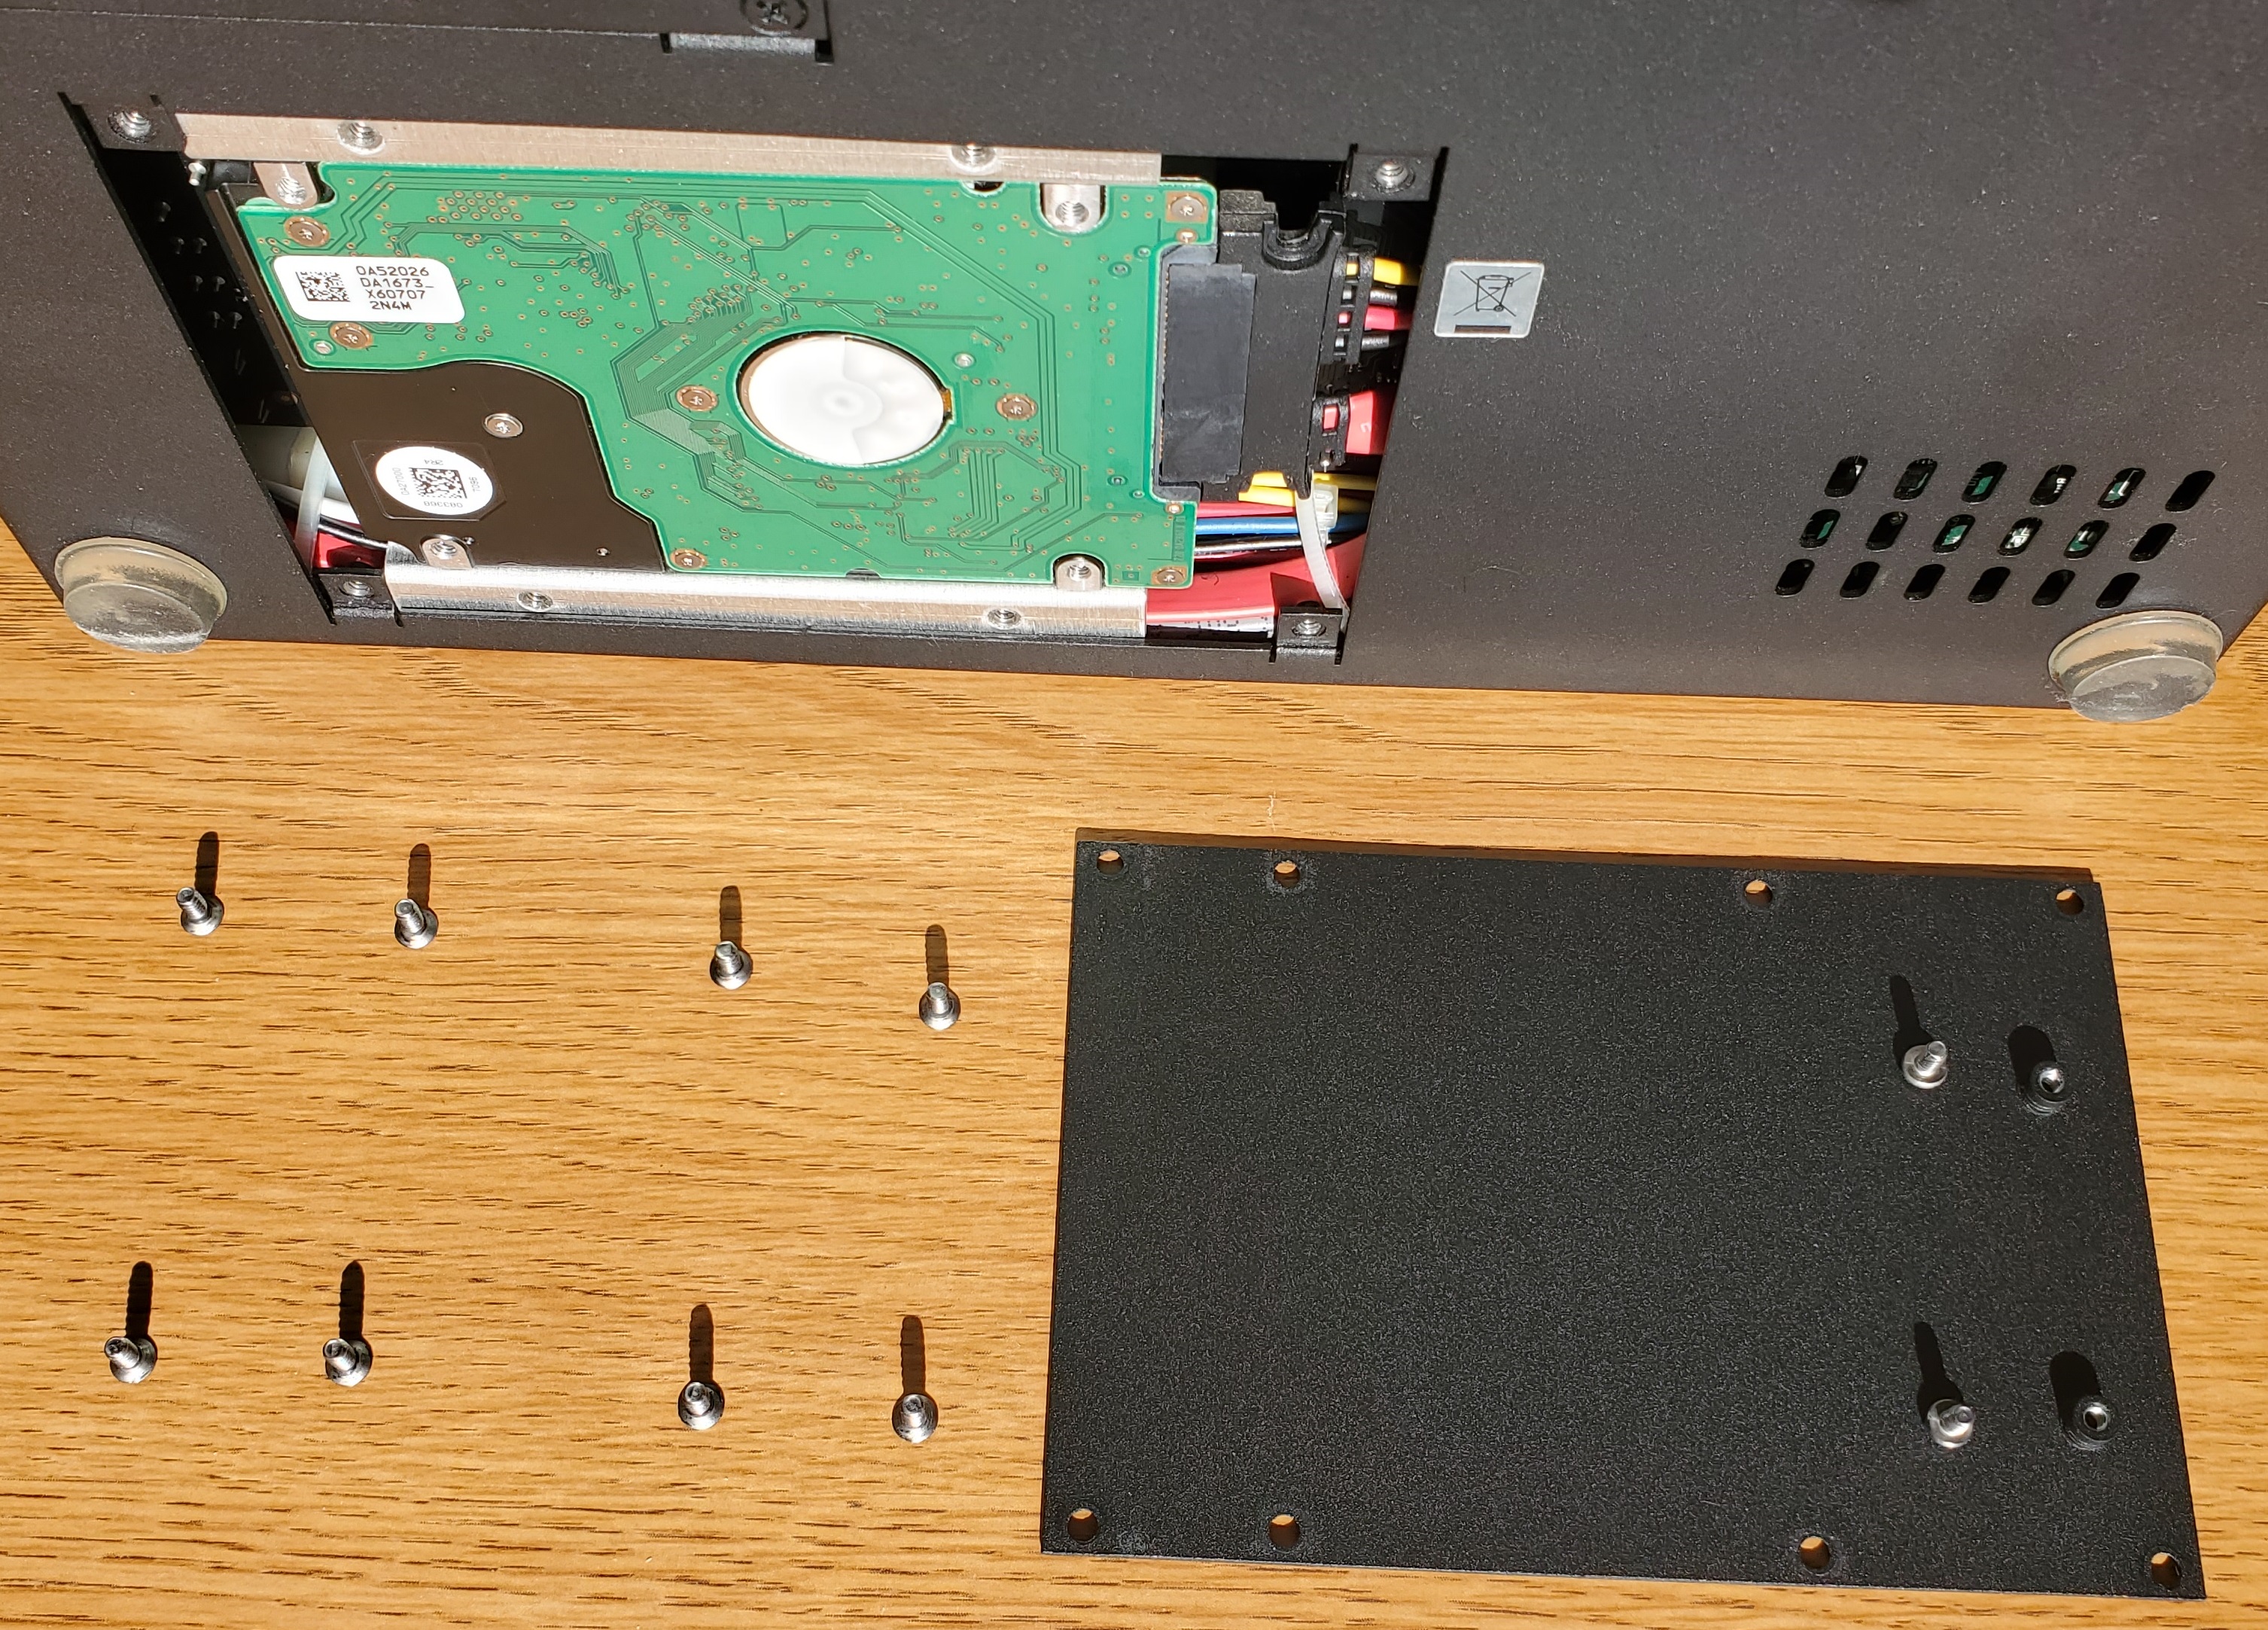
This is the easiest hardware change you can do internally. All you need is a good screwdriver, and there are no warranty seals to break. The following pics show the
device’s Drive Bay and the HDD that originally came with my unit. It should be possible for you to replace the HDD with an SSD designed for that purpose.
If you look
at the BOTTOM picture above, you’ll see 8 screws in the “Hard drive cover”. The screws at each corner (so 4) are the ones that actually hold
the cover (and HDD) to the unit. I would also recommend removing the remaining 4 screws that hold the two HDD mounting rails to the cover. But NOTE: There are also two more screws
(the silver colored ones) which hold the SATA connector to the cover plate! If those had already been removed (as I did with my unit), then you could easily pop the cover off
all by itself (as shown in the pic below). If you plan on swapping out a drive more than once, I recommend doing this, since it makes the process much easier. In my opinion it was
a bit of overkill to lock the SATA connector to the cover plate, since the HDD itself and the two raised columns that the connector fits into already prevent the connector
from detaching without being screwed down. When inserting a new HDD back into the unit, after mounting the rails onto it and attaching it to the SATA connector, you would
screw those back onto the cover plate before closing the cover with the remaining 4 screws.
 |  | ||
 |  | ||
 |  |
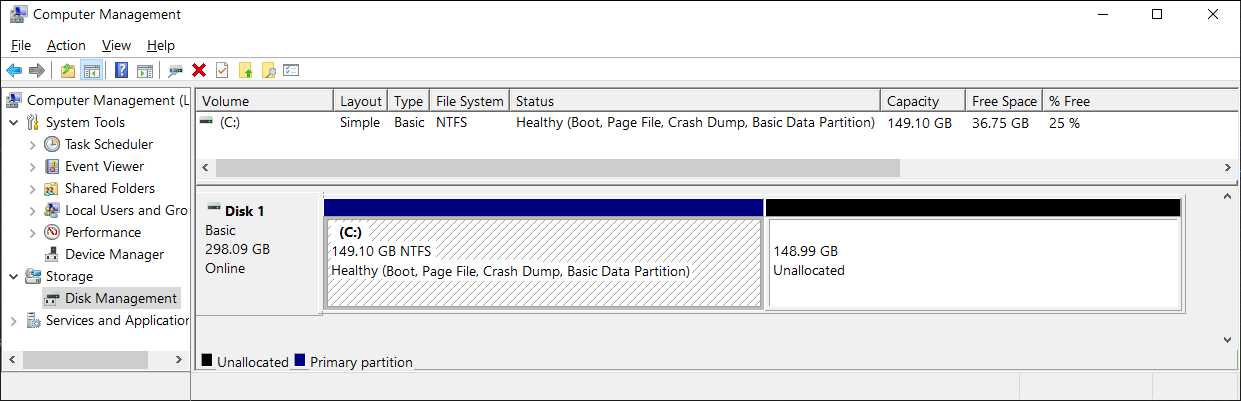
Shrinking the C: Drive for Dual Booting
If you decide to try using a Dual Boot setup on this device, mainly for communicating via the Internet with a more recent OS (such as Linux Mint) without the OS attempting to or even downloading any kind of Microsoft updates,[1] then you can use Windows’ built-in “Shrink” function to make room for a second OS partition. This will make it possible for you to still use the four SATA ports under the ICS control software that currently will only run under a Windows 64-bit OS. Otherwise, using the whole storage drive for a Linux OS would be recommended. Here are some screenshots of shrinking the C: Drive under the Windows OS’s Disk Management tool:
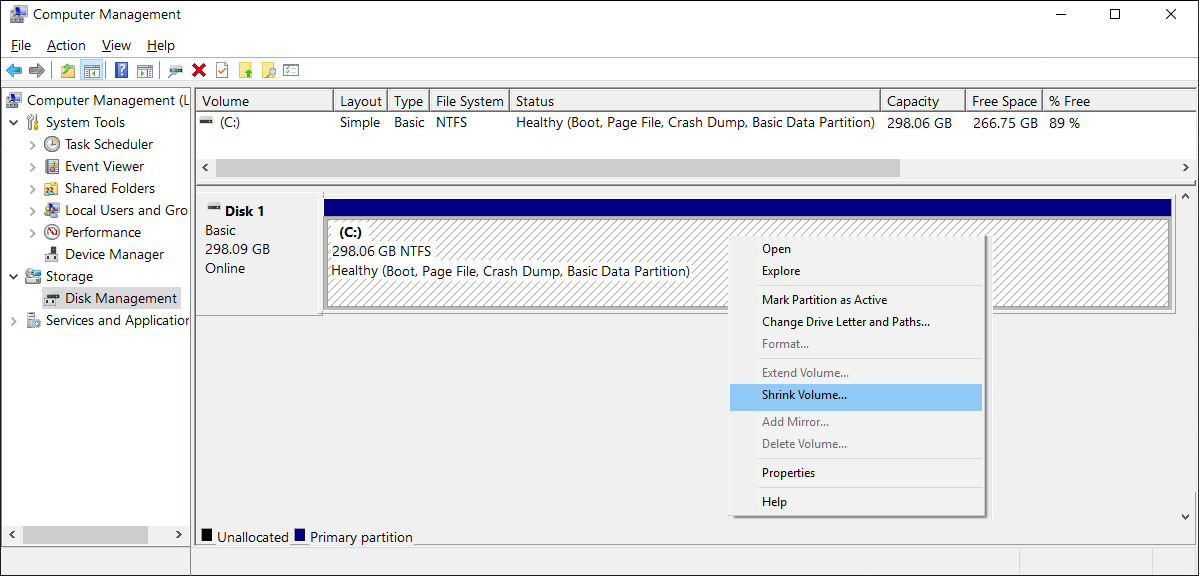
You should see something similar to this after the SHRINK process has completed:
Some Quirks and Inconveniences of Dual Booting the Solo-4 G3
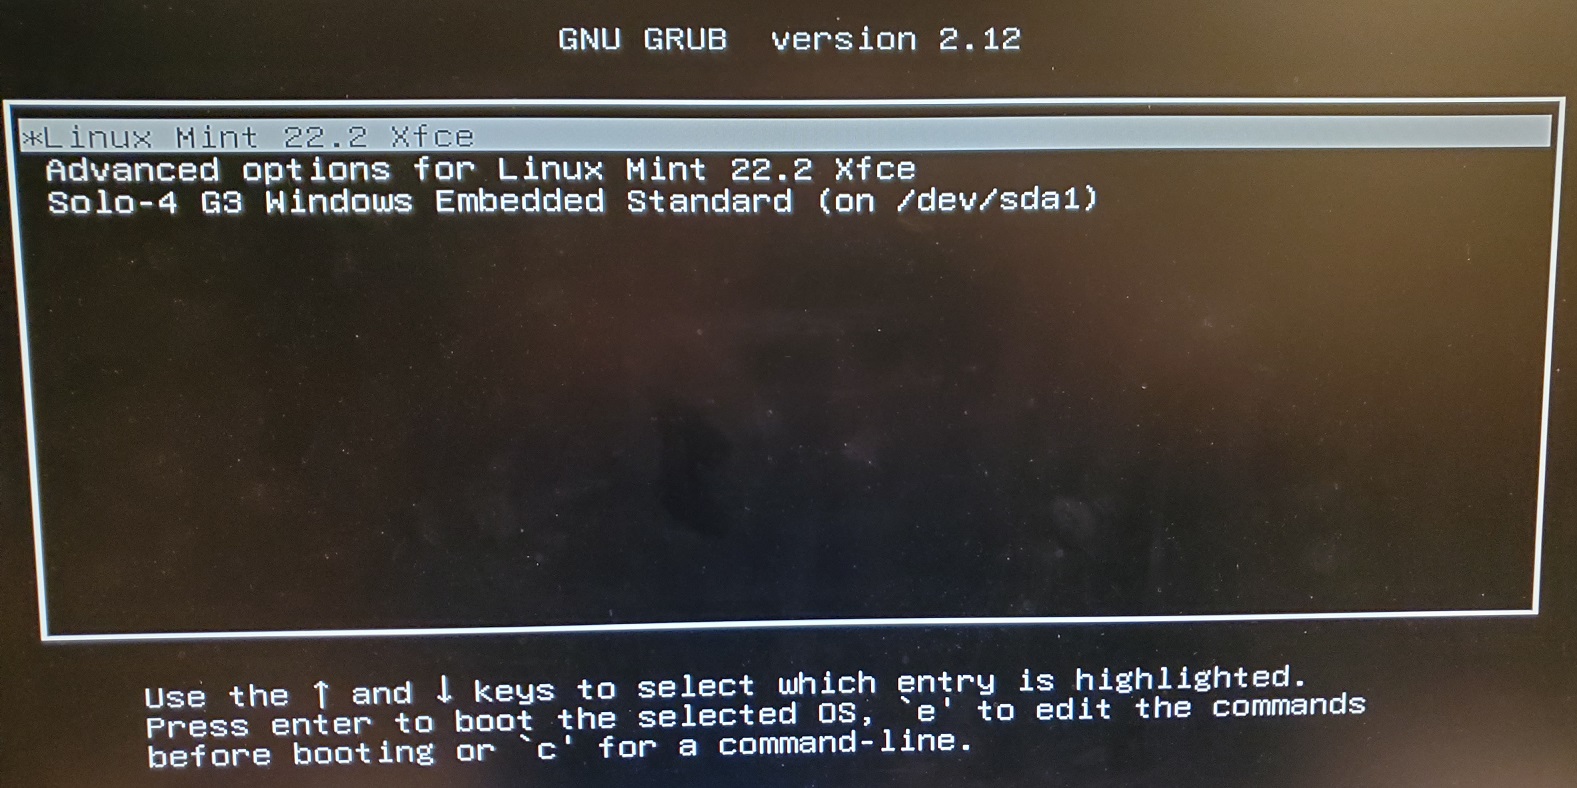
Since the H87N motherboard can boot either an older MBR scheme OS or a newer UEFI capable OS and the Solo-4 G3 Restore USB drive installs the Windows Embedded OS under the MBR scheme, you need to make sure that any other OS, such as Linux Mint, does not install under UEFI mode! If it does, you will never be able to get the Windows OS onto the linux grub boot menu! It would only be able to do so if the Windows OS had been installed on a GPT formatted disk and the OS could boot in UEFI mode! So, never allow a second OS (whether a Linux or even another Windows OS) to install an EFI/UEFI boot partition!
It must also be noted: So far, every time I have booted into the Linux OS below and then have gone back into the Windows Embedded OS, none of the USB devices (including
the Keyboard, Mouse and the Touchscreen controller) were functional! Each time, I’ve needed to go into the BIOS/UEFI settings; even without making any changes, and
click on SAVE. If this is not something in the GRUB or Linux OS boot code that affects the USB drivers, then it must be something in a non-volatile settings chip, preventing the
Windows OS USB drivers from functioning!? At this time, I have no idea why this is occurring, nor how to resolve the issue, so this is rather inconvenient.
You must
also realize, that after installing another OS as a dual booting system, you would need to have a Keyboard attached in order to select booting from the unit’s original
Windows Embedded OS from any menu (as shown below), because none of the touch screen drivers will be functional until after one of operating systems boots up!
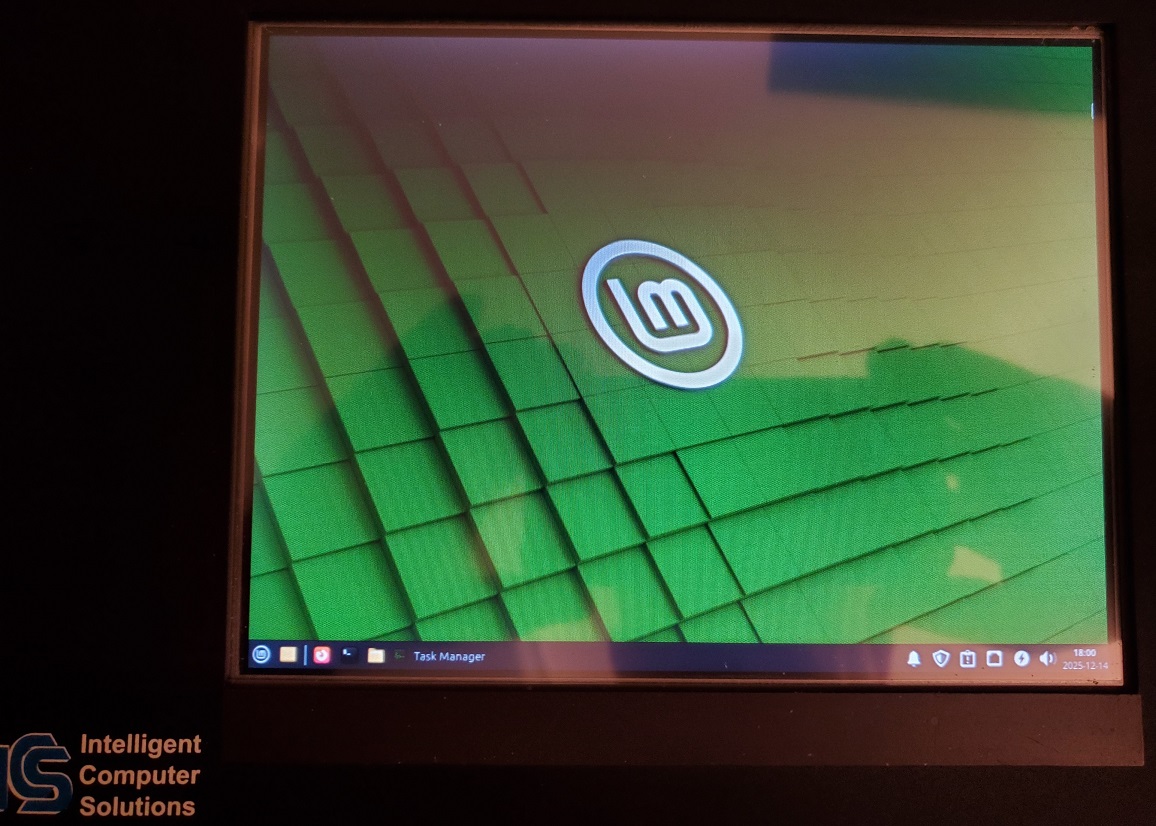
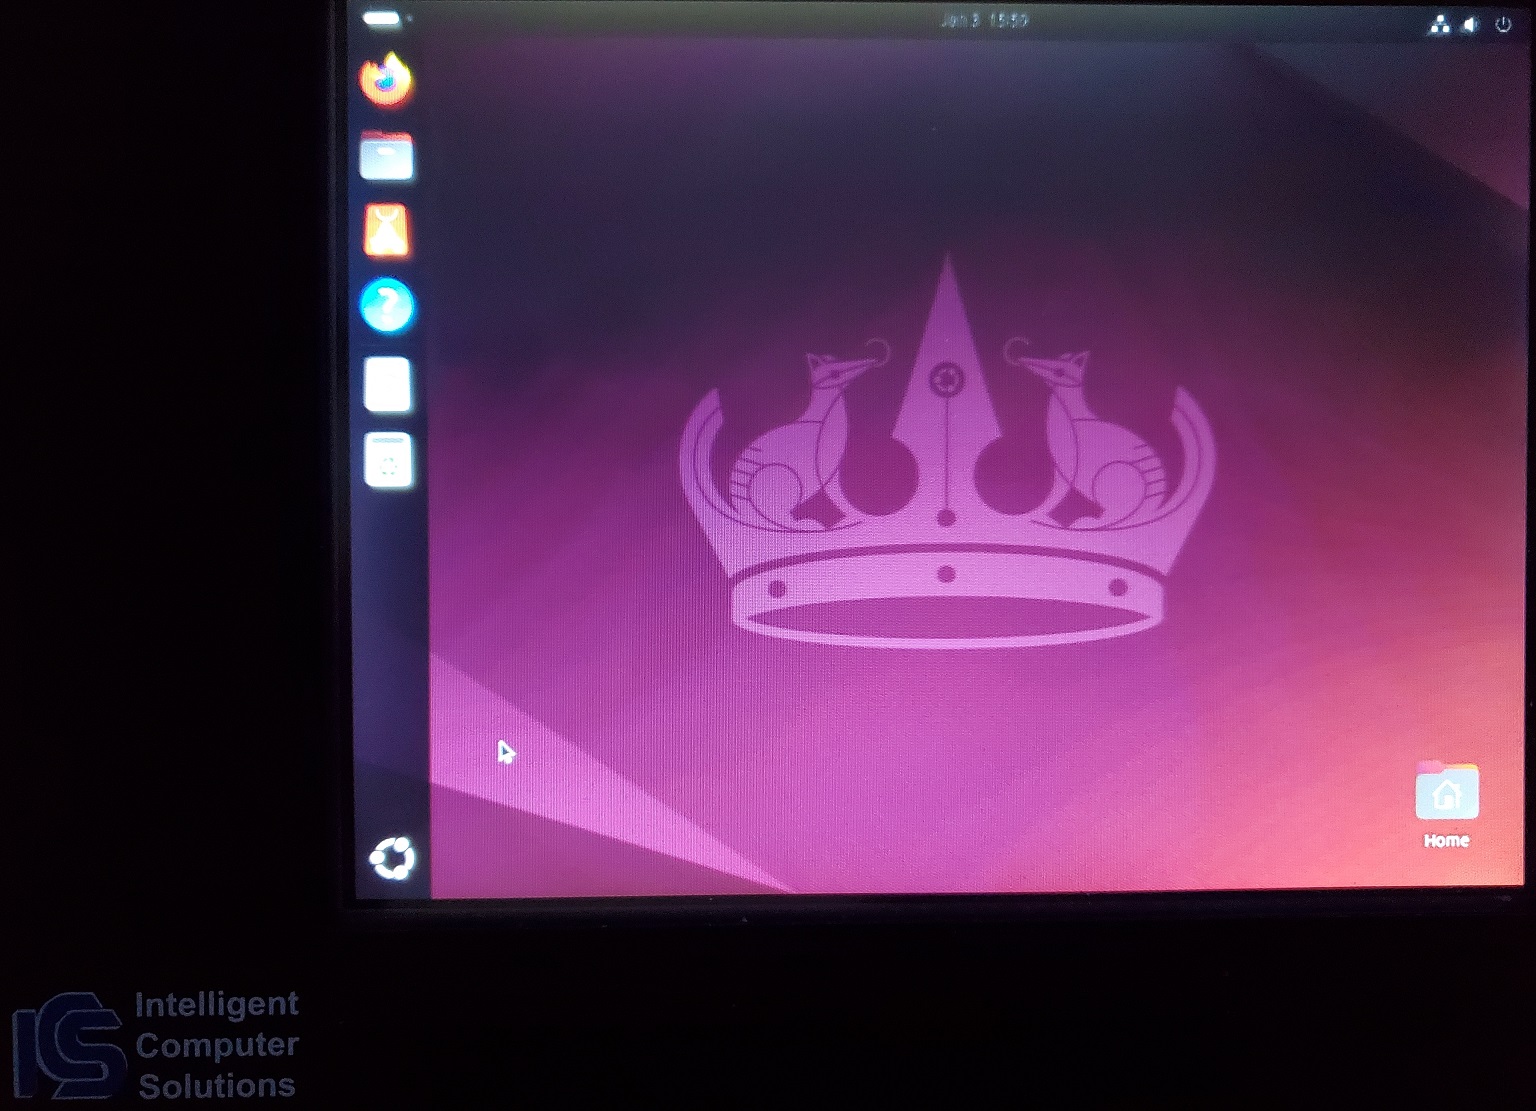
Installing a Linux OS
I had tried to install the latest Ubuntu Linux OS (24.04.3 LTS), but with only 2 GB of memory, that became impossible to do! Just the OS by itself requires quite a bit of memory, and each time I tried an install, the unit locked-up about 1/2 to 2/3 of the way through; even when not connected to the Internet. So, I decided to try installing an OS that used less resources: I chose Linux Mint 22.2 “Zara” Xfce (an LTS release; supported until 2029). Be sure to get the Xfce edition from that page! I did the install offline; booting from a USB drive made with RUFUS and the downloaded .ISO file, along with an attached Keyboard of course, and it completed fine. Here is a pic of my unit running Linux Mint:
NOTE: It’s quite easy to install a linux driver for the eGalax touch screen on the Solo-4 G3 unit! I downloaded eGTouch_v2.5.13219.L-x.7z from here into the Downloads folder. The setup was fairly simple. I needed to install a 7-Zip app (sudo apt install p7zip-full) in order to extract the 7-zipped files into another folder, navigate to that folder and execute the setup program. Here are all the entries I used to install the eGalax driver from a Terminal screen:
sudo apt update
sudo apt upgrade
sudo apt install p7zip-full
cd ~/Downloads
7z x eGTouch_v2.5.13219.L-x.7z
cd eGTouch_v2.5.13219.L-x
sudo sh setup.sh
exit
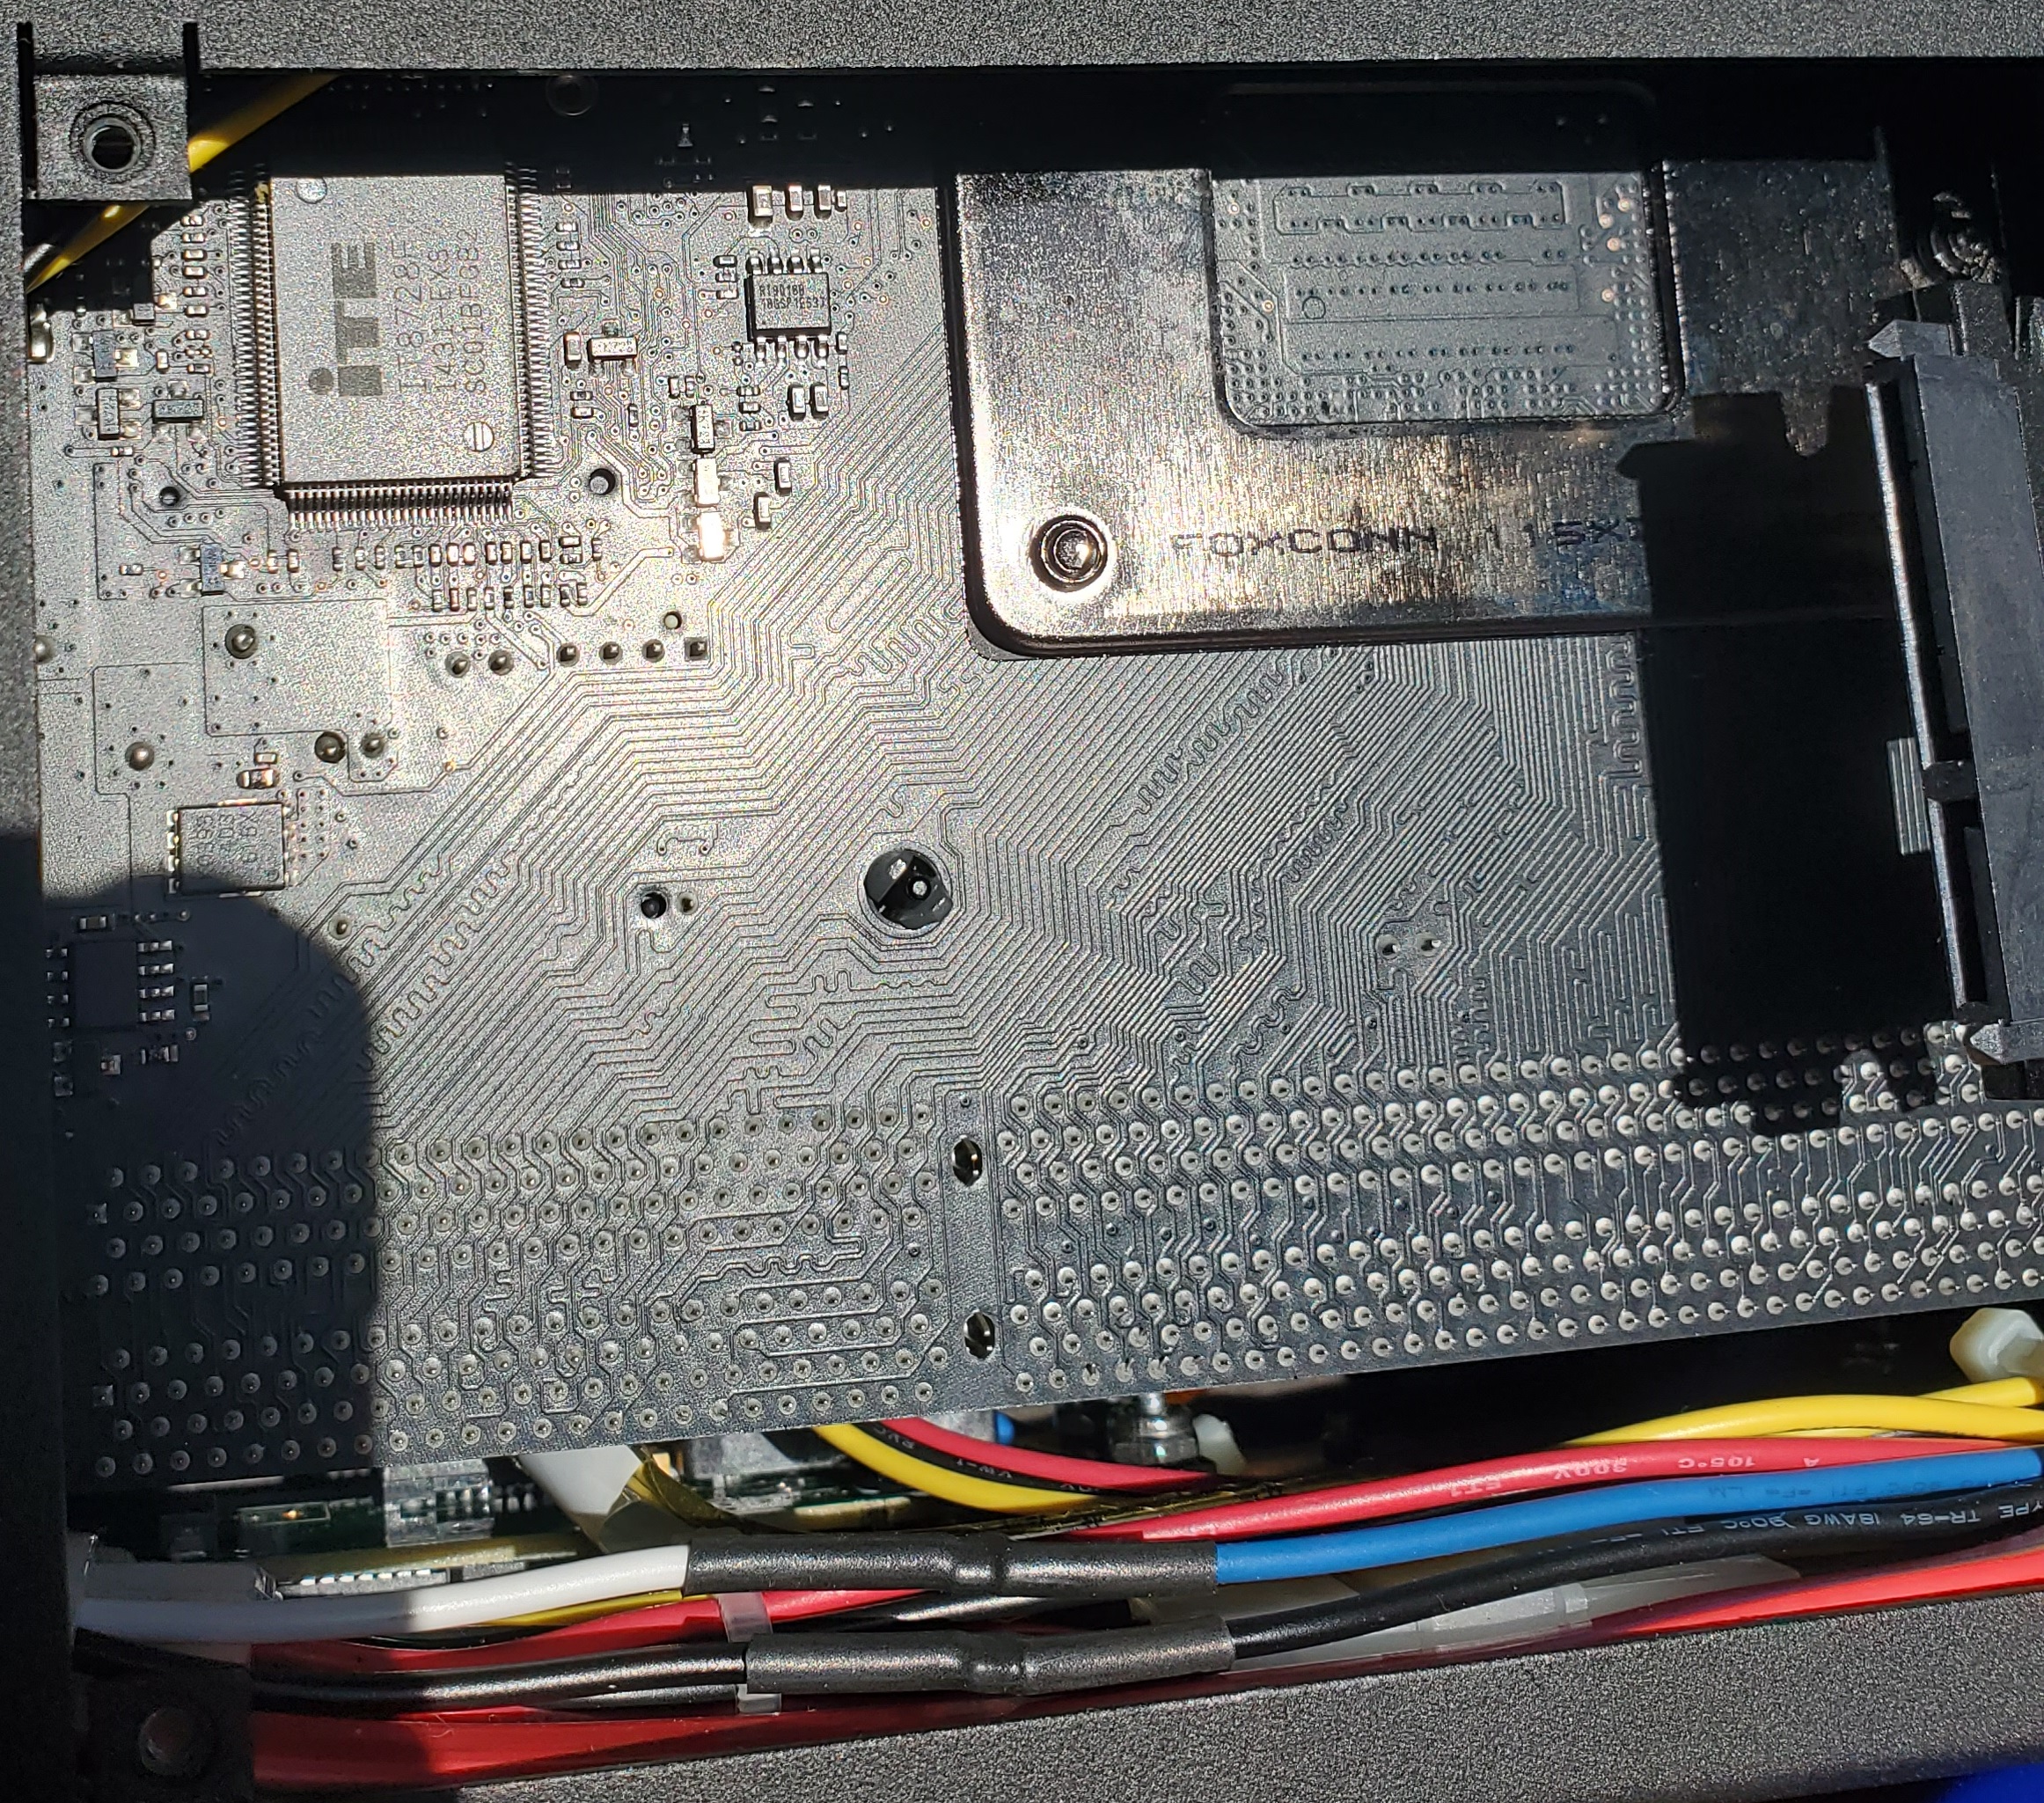
Upgrading the Memory
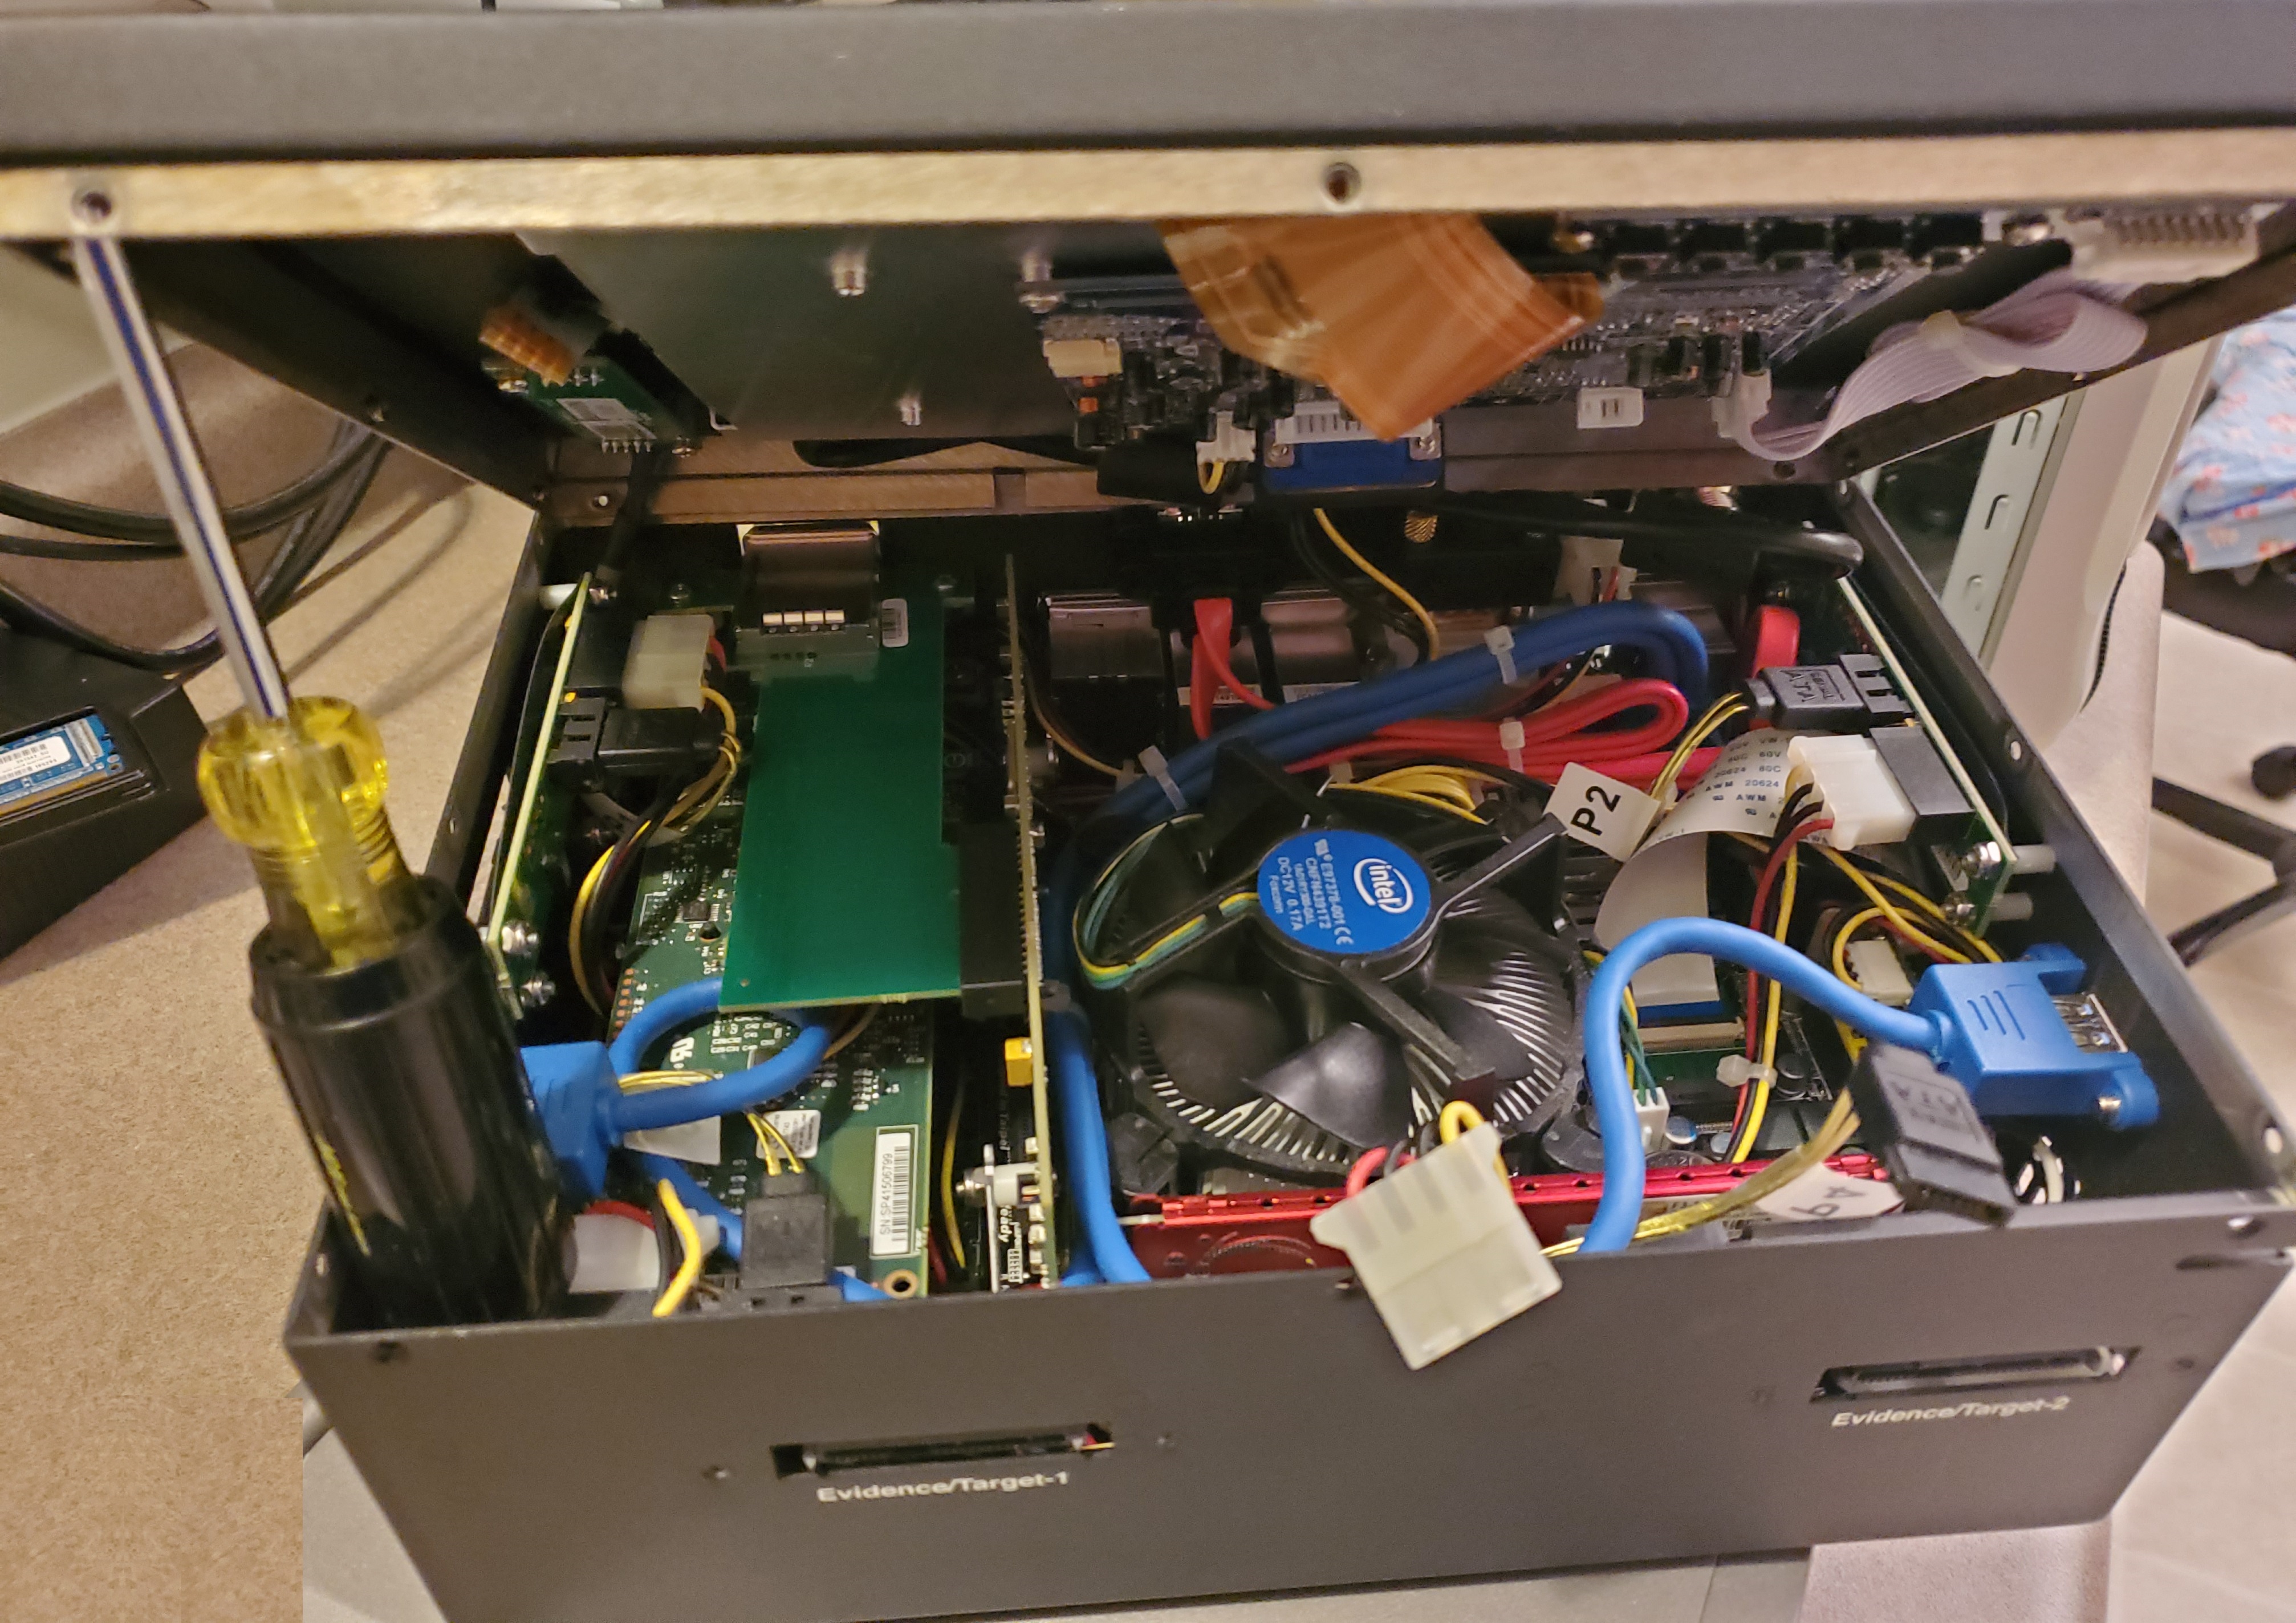
Be sure to click on the pics here to see inside!
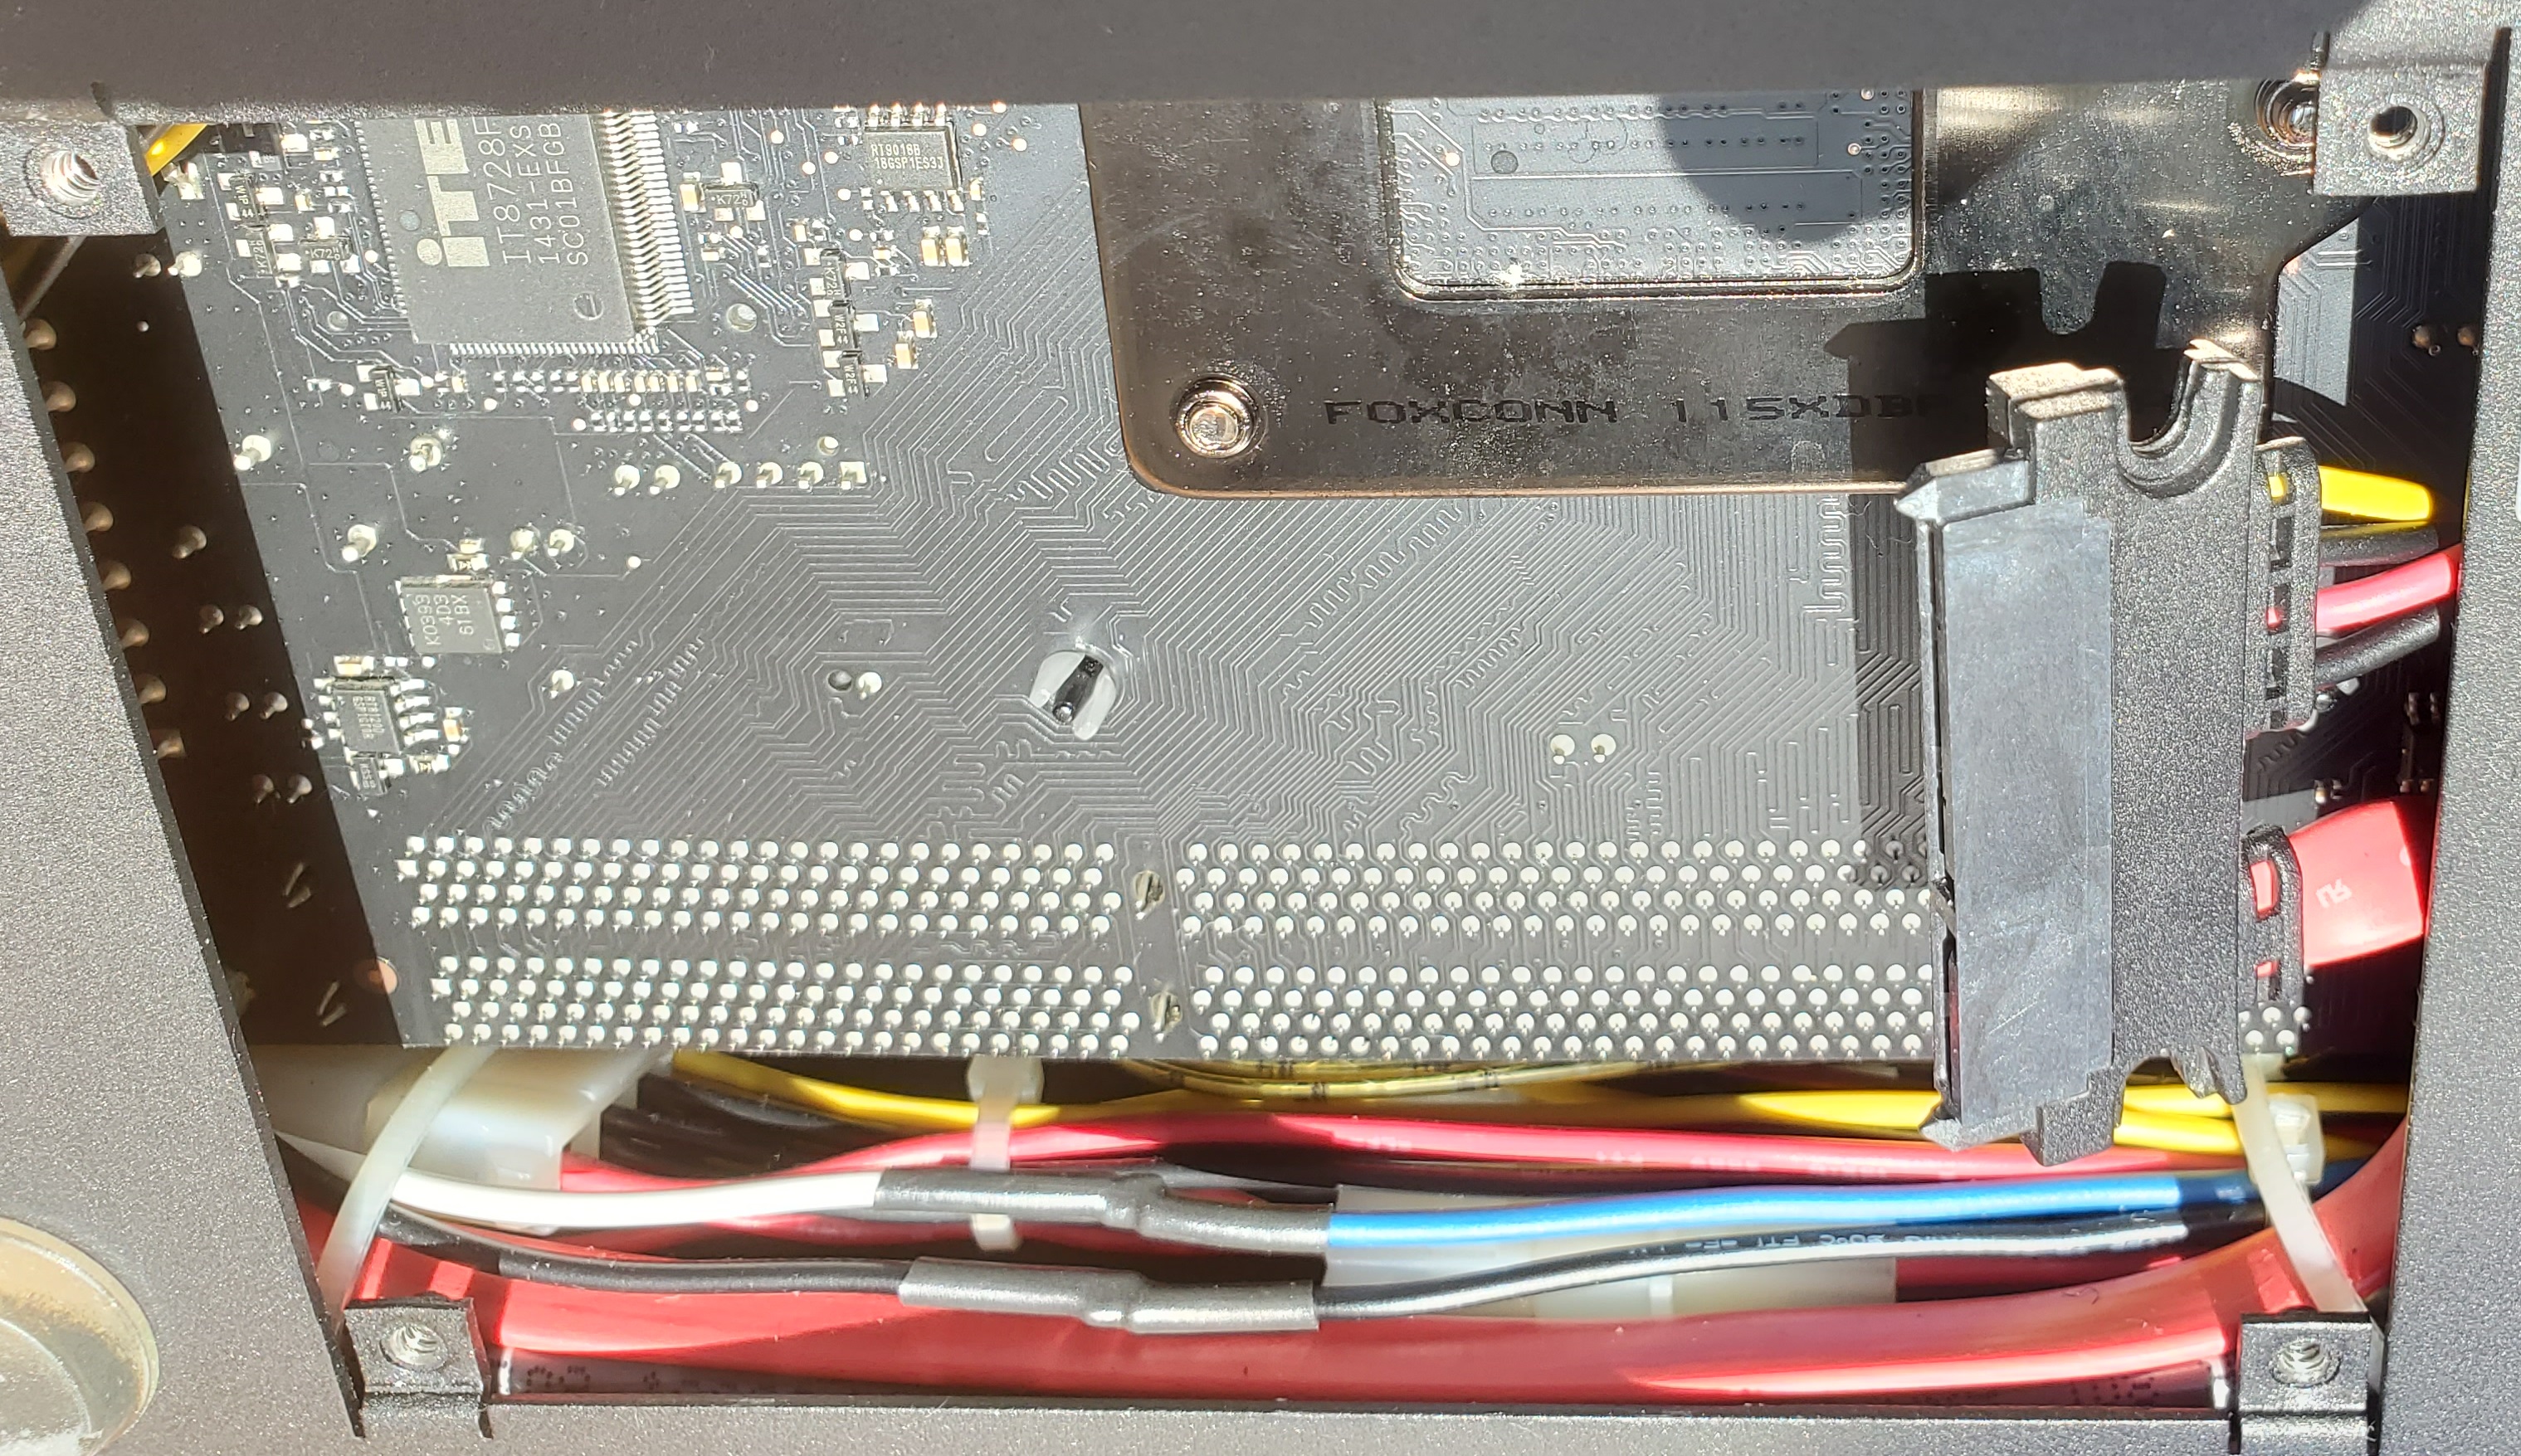
You can also see the location of the CMOS Clock and Settings CR2032 3 volt Lithium (round button) Battery in the photo below. I didn’t bother replacing this, since it’s not that much trouble for me to go into the BIOS/UEFI settings and update the clock, etc. when I need to.
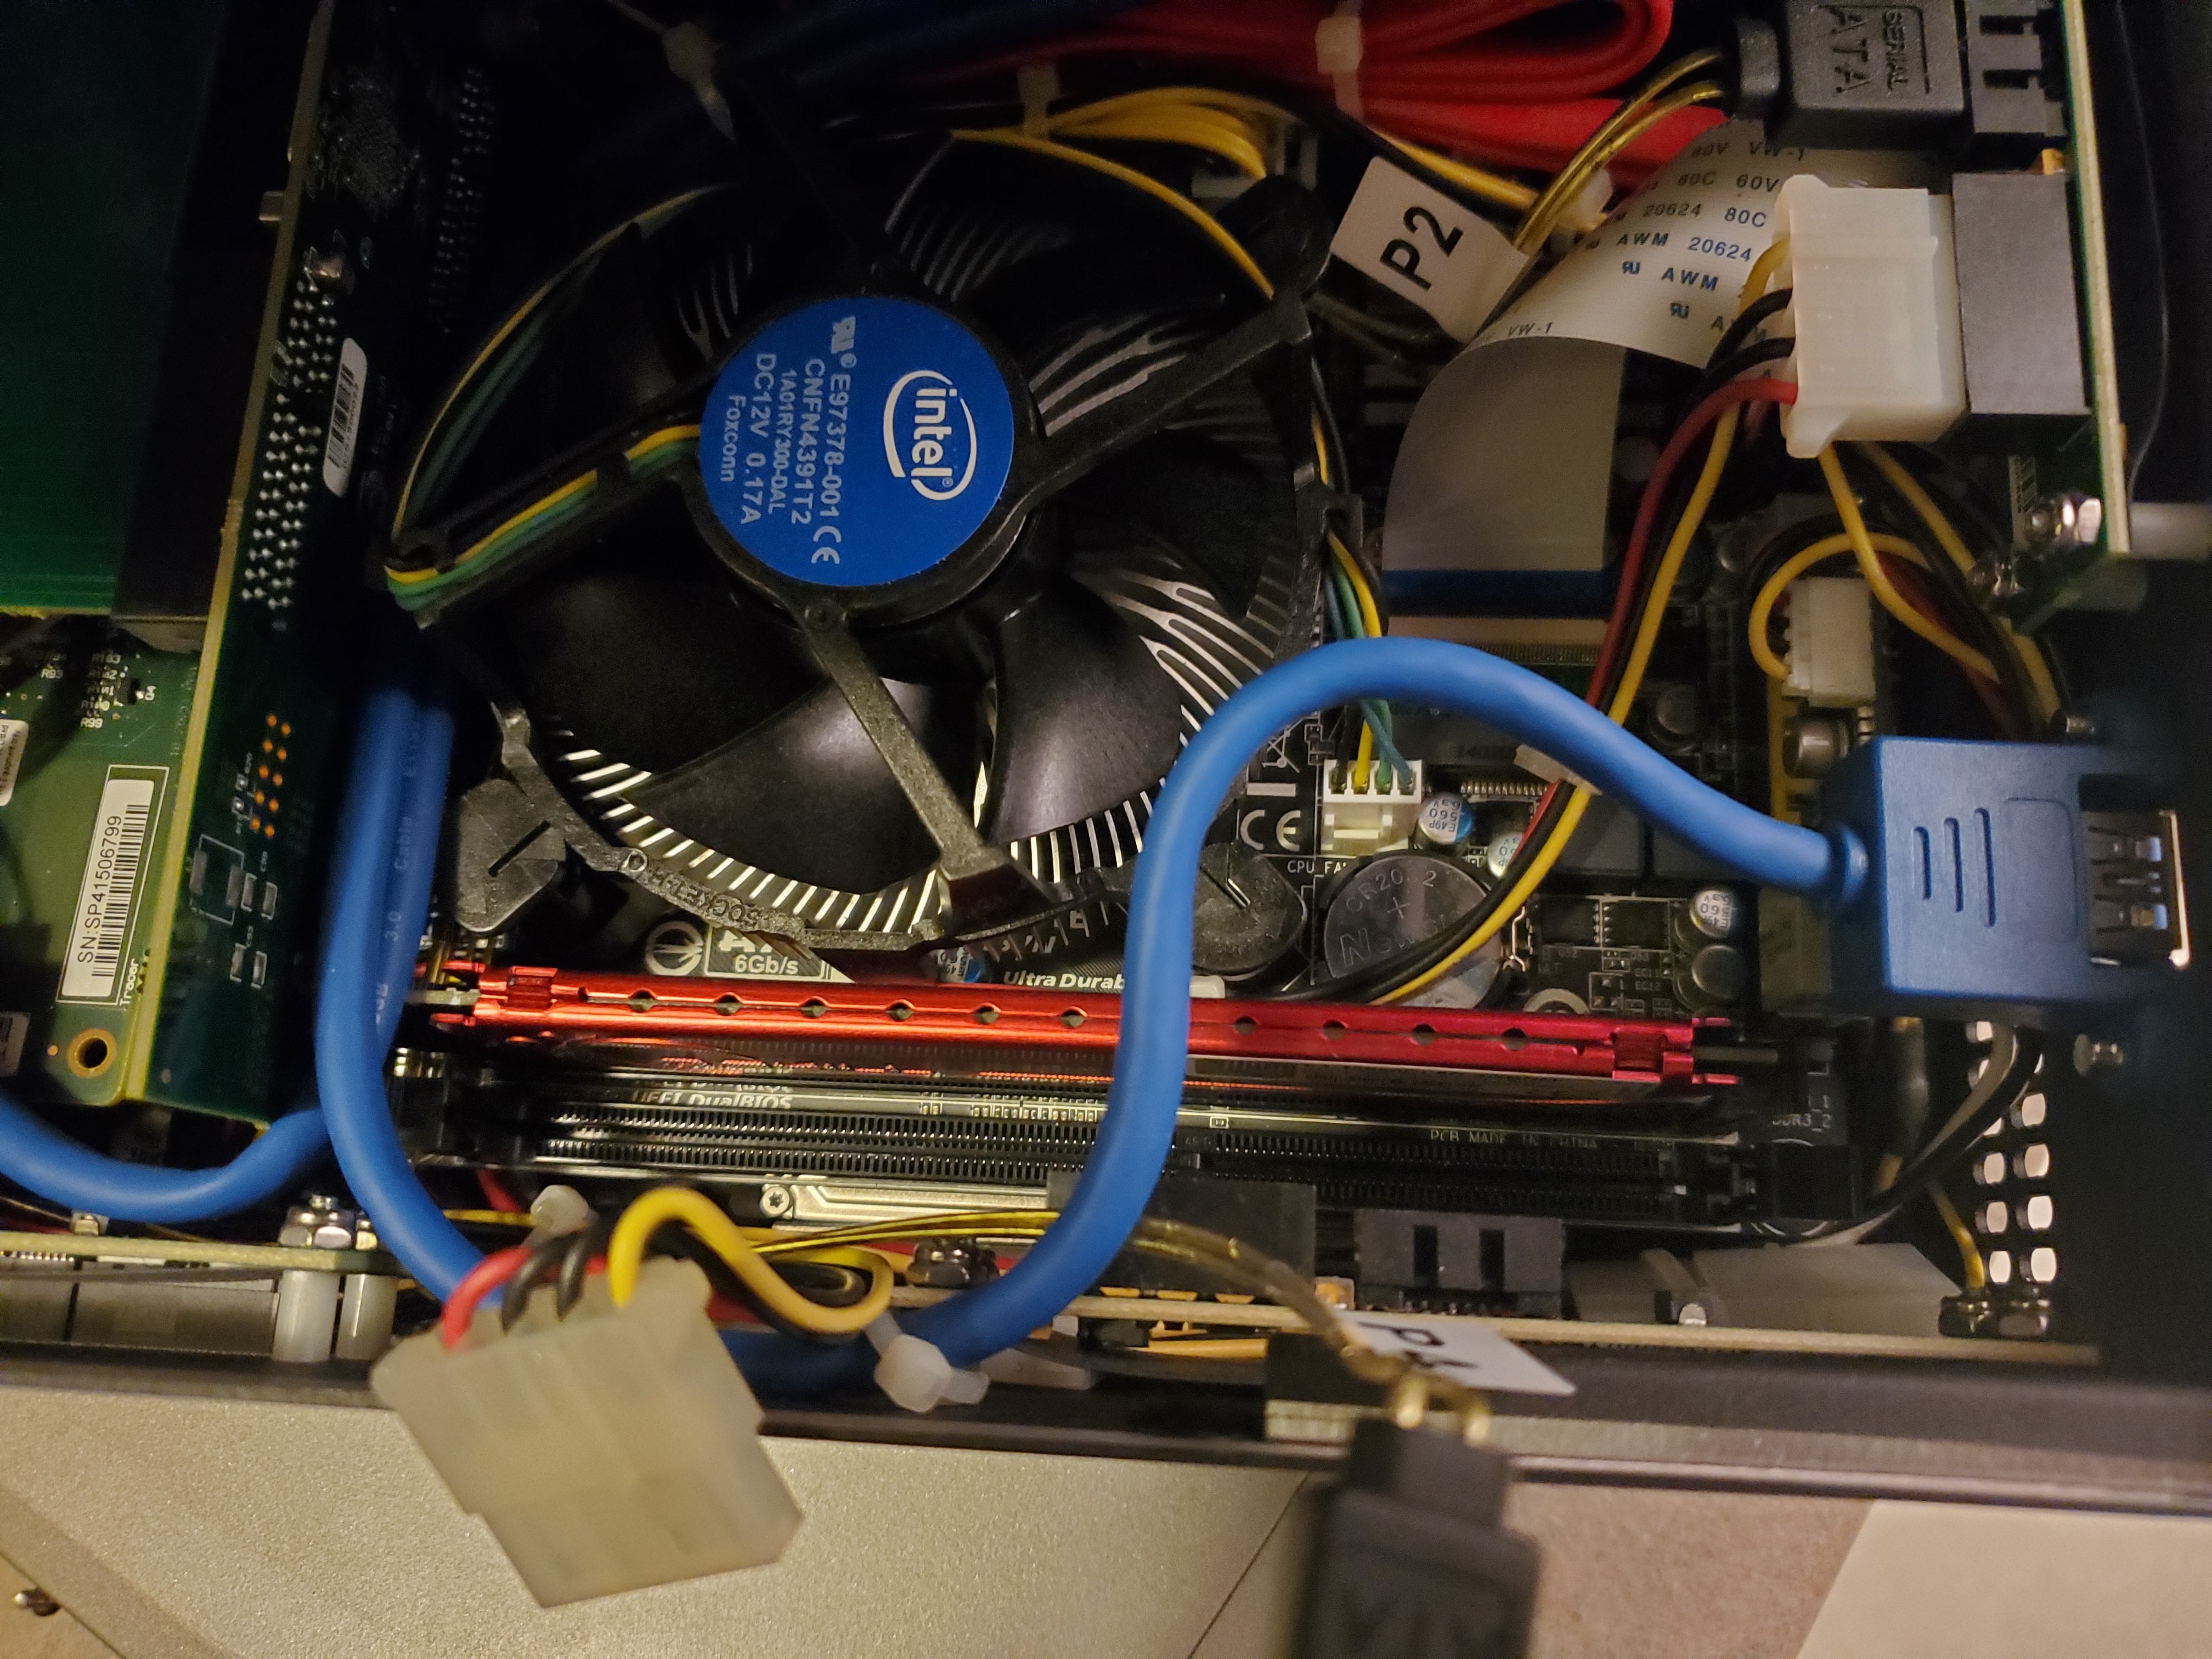
Unless you have both nimble yet firm fingers, I would not recommend performing this upgrade yourself. Apart from having to remove ALL 12 screws (3 near the top of each side; one being under the Warranty sticker), you also need to disconnect the smaller DATA cable (start with this one first!) and then the POWER (Yellow, Red and 2 Black wires) cable from the “Evidence/Target-2” PCB connectors. It can be difficult to use enough force to disconnect these (they are not locked-in by any means, though it may feel like they are!) but also to do so within such a small amount of space: Between the existing memory module (the one with the RED colored heat sink) and two PCBs! And once you have removed these, you will also find it difficult to insert the DDR3 Memory module into such a tight space; making sure the locking mechanisms on both sides are open as wide as possible (and depending upon how the unit was manufactured, I was very thankful there was just enough room to get my module to insert on the left side! There’s a PCB there that made it seem as if it might be impossible to do so; it took me a number of tries until it finally went in!).
The existing memory module for most units is a 2 GB module from G. Skill with an attached alloy heat sink (RED in color). You can see the exact specs for this module in the last image under the Specifications section above. I ended up finding another 2 GB DDR3 module at Amazon.com made by Crucial without any heat sink (which may have allowed it to fit in easier) for about $15. Both modules are PC3-12800 (800 MHz).
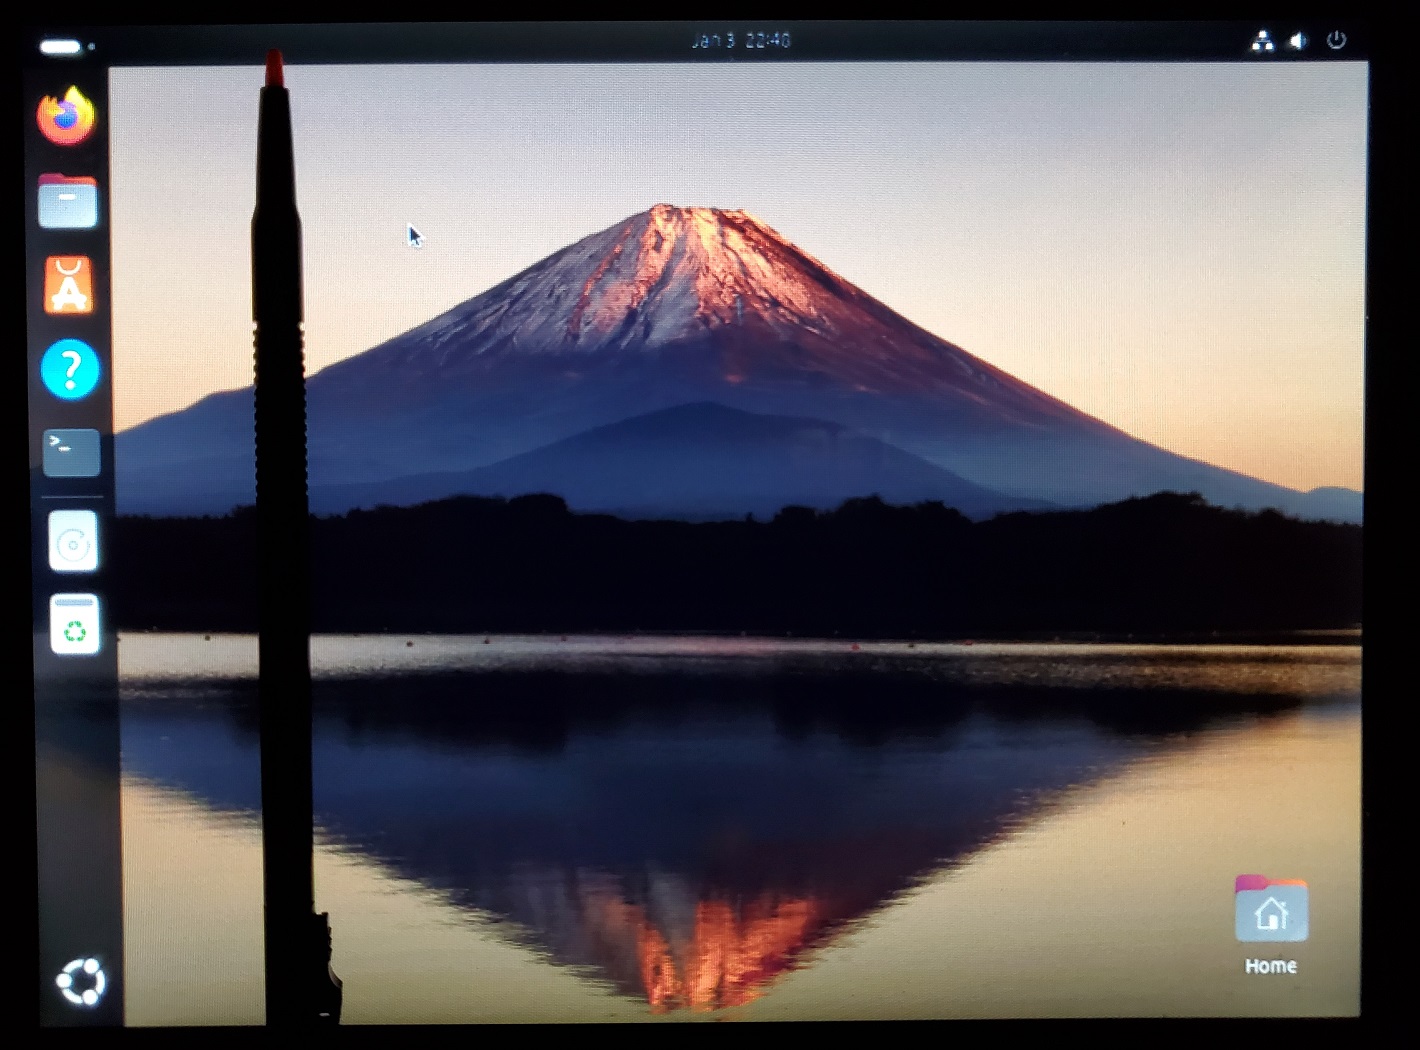
After Upgrading the Memory: Ubuntu 24.04.3 LTS Install
Now that my unit has 4096 MB of Memory, I was able to install the Ubuntu Linux 24.04.3 LTS OS without any problems!
Footnotes
1[Return to Text] Whenever I forgot to disconnect the unit from the Net, it always required having to deal with updates, rebooting and having the OS decide that it could not do any of them until finally returning back to its previous state after yet another reboot (that’s Microsoft)!
First Posted on: 24 DEC 2025 (2025.12.24).
Updated on: 30 DEC 2025 (2025.12.30), added all the Solo-4 G3 pics and instructions for Upgrading Memory; 06 JAN 2026 (2026.01.06), added more pictures and instructions;
14 JAN 2026 (2026.01.14), revised some things for clarity, added Ubuntu pics.
You can write to me here: contact page (opens in a new window).