Using WinBox for 86Box
If you haven't installed WinBox for 86Box yet, you should read this page first.
An 80286 NEAT ("New Enhanced AT") BIOS Example
[ Note: For this example, I used "Build 4584" of 86Box (April 29, 2023).
If you have a problem with any of the steps below, and
you're using Build 4636, I'd recommend replacing it for this example. For any other Builds, should you encounter any errors, I know that Build
4584 will work — simply replace all the 86Box emulator files (but not the rom folder) in:
Documents\WinBox for
86Box\Emulator Files\ with the files in 86Box-Windows-32-b4584.zip on this
page.[1]
(There's a 64-bit version as well, but even the authors of 86Box recommend using only the 32-bit version.) ]
Open WinBox for 86Box and click on the New Machine item in the menu area; as you've done before, then change "New Virtual
Machine #1" to something more descriptive. I will be using "PC/AT NEAT BIOS" in the example screens below. In the "Select a Template"
window which appears next, use the same exact selections as you did in the previous example: "IBM" and "IBM PC/AT"
as shown below: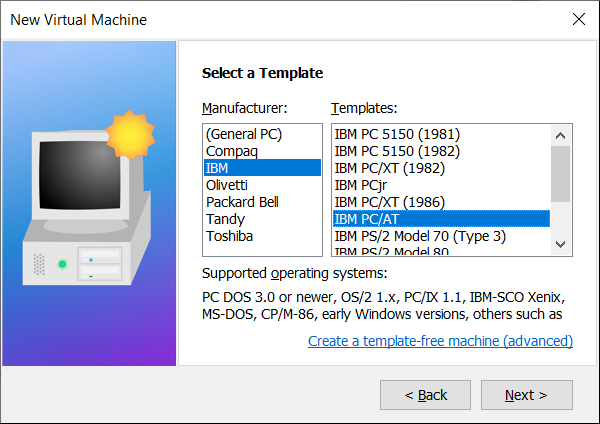
Leave the Optional settings as they are; except for setting the "CPU speed,"
from "6 MHz" to "8 MHz"; just as before, leaving the default selection for the HDD the same too. However, in the following window, check the box to
"Show more Settings after creation" :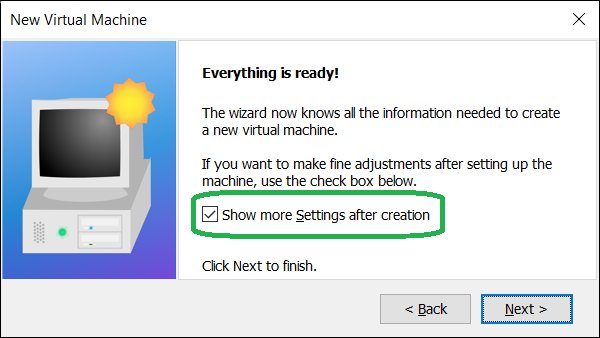
When the "Settings" window pops up, double
the "Memory:" from 512 KiB to "1024 KB" and change the "Machine:" (BIOS) from "[ISA] IBM AT" to a "[NEAT] Phoenix 286 clone" and also Enable "(local time)" "Time synchronization" as shown below: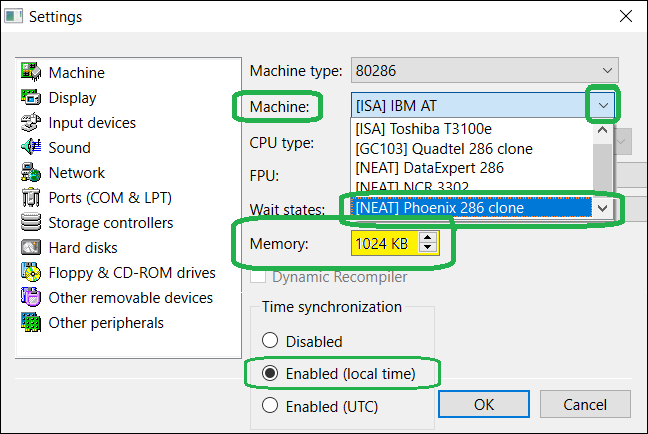
With the new machine selected as shown below, click on the "Start" icon: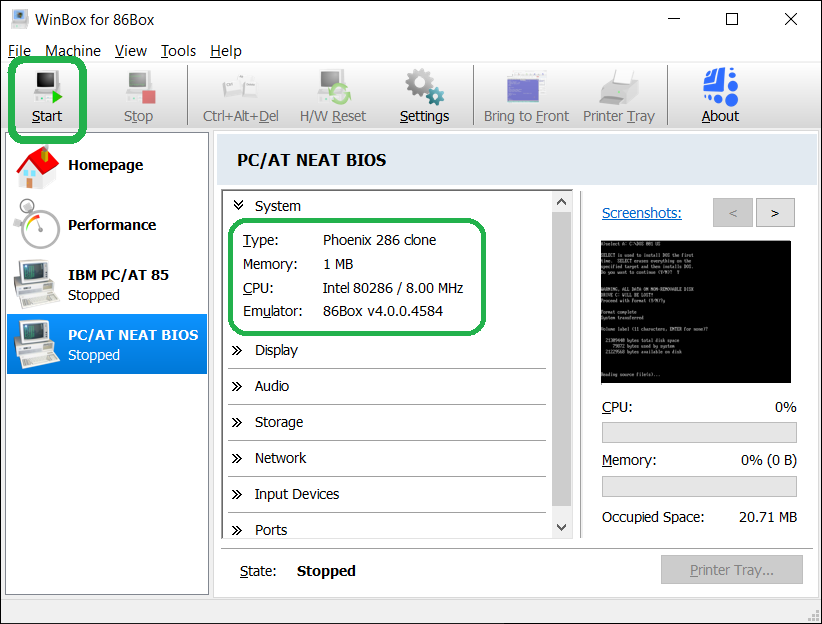
And you should see the following in the 86Box window (Note: it may take some time for the last line with F1 and F2 to appear):
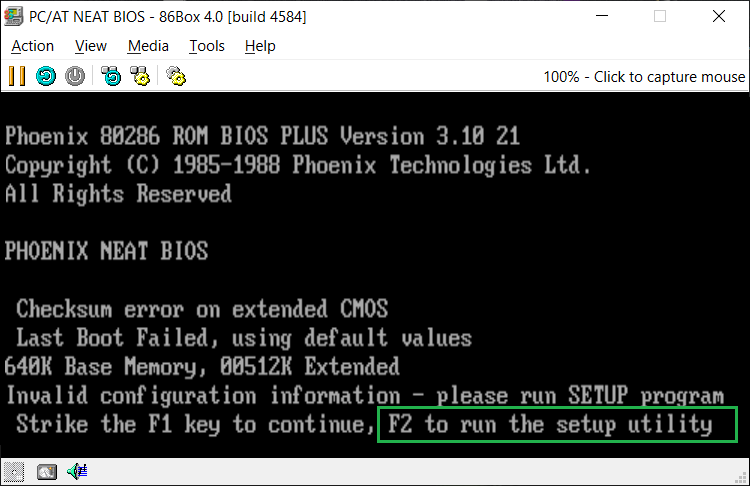
Press the F2 Key and this should appear: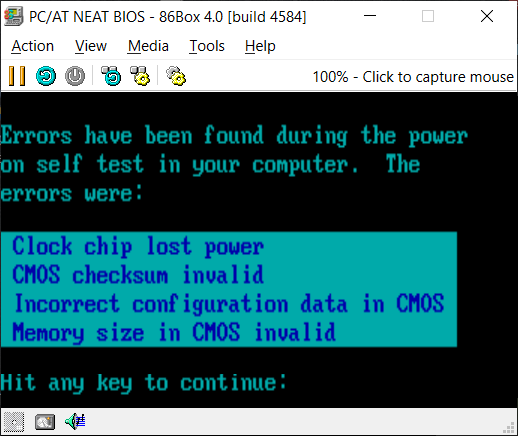
Because we enabled time synchronization, there's no need to set the date/time; and as you can see, the Phoenix BIOS code already selected our Type 2 disk drive:
Press the Page Up Key to see the
Note: If you need help setting up a particular Virtual Machine, you can contact me here for help.
Footnotes
1[Return to Text] After replacing the 86Box files with those from Build 4584, the directory (folder) should appear as follows: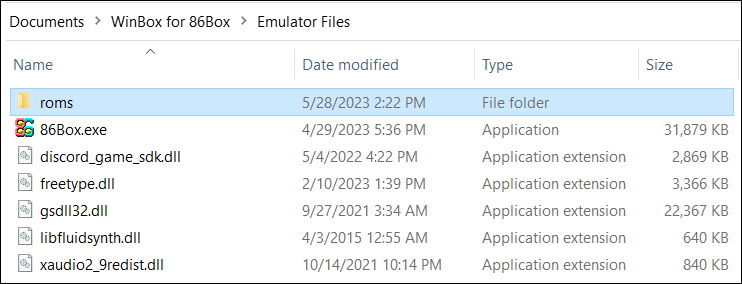
Once you have replaced the broken 86Box emulator files, I'd recommend going into the "Tools" menu and select "Program Settings..." Then under the "Automatic Updates" TAB, disable the
"Search for Emulator Updates automatically" as shown in the BROWN annotation on this photo
("UN-check" that box! and click on OK).
[Return to Text]
2[Return to Text] .
3[Return to Text] .
4[Return to Text] .